Using Your Own Google Cloud Credentials (Optional)
By default YouPush connects to YouTube with one click and uses our shared, approved API access, so most people can skip this page entirely. The only reason to set up your own free Google Cloud credentials is if you want your uploads to run on your own quota instead of the shared pool. If that's you, follow the steps below. We know Google Cloud Console isn't the friendliest interface, so we've spelled out every step. Plan on about 15 minutes.
Before You Start
- You need a Google account (the same one you use for YouTube).
- No credit card is required. The YouTube Data API is free for personal use.
- You do NOT need to be a developer. Just follow the steps below.
1 Go to Google Cloud Console
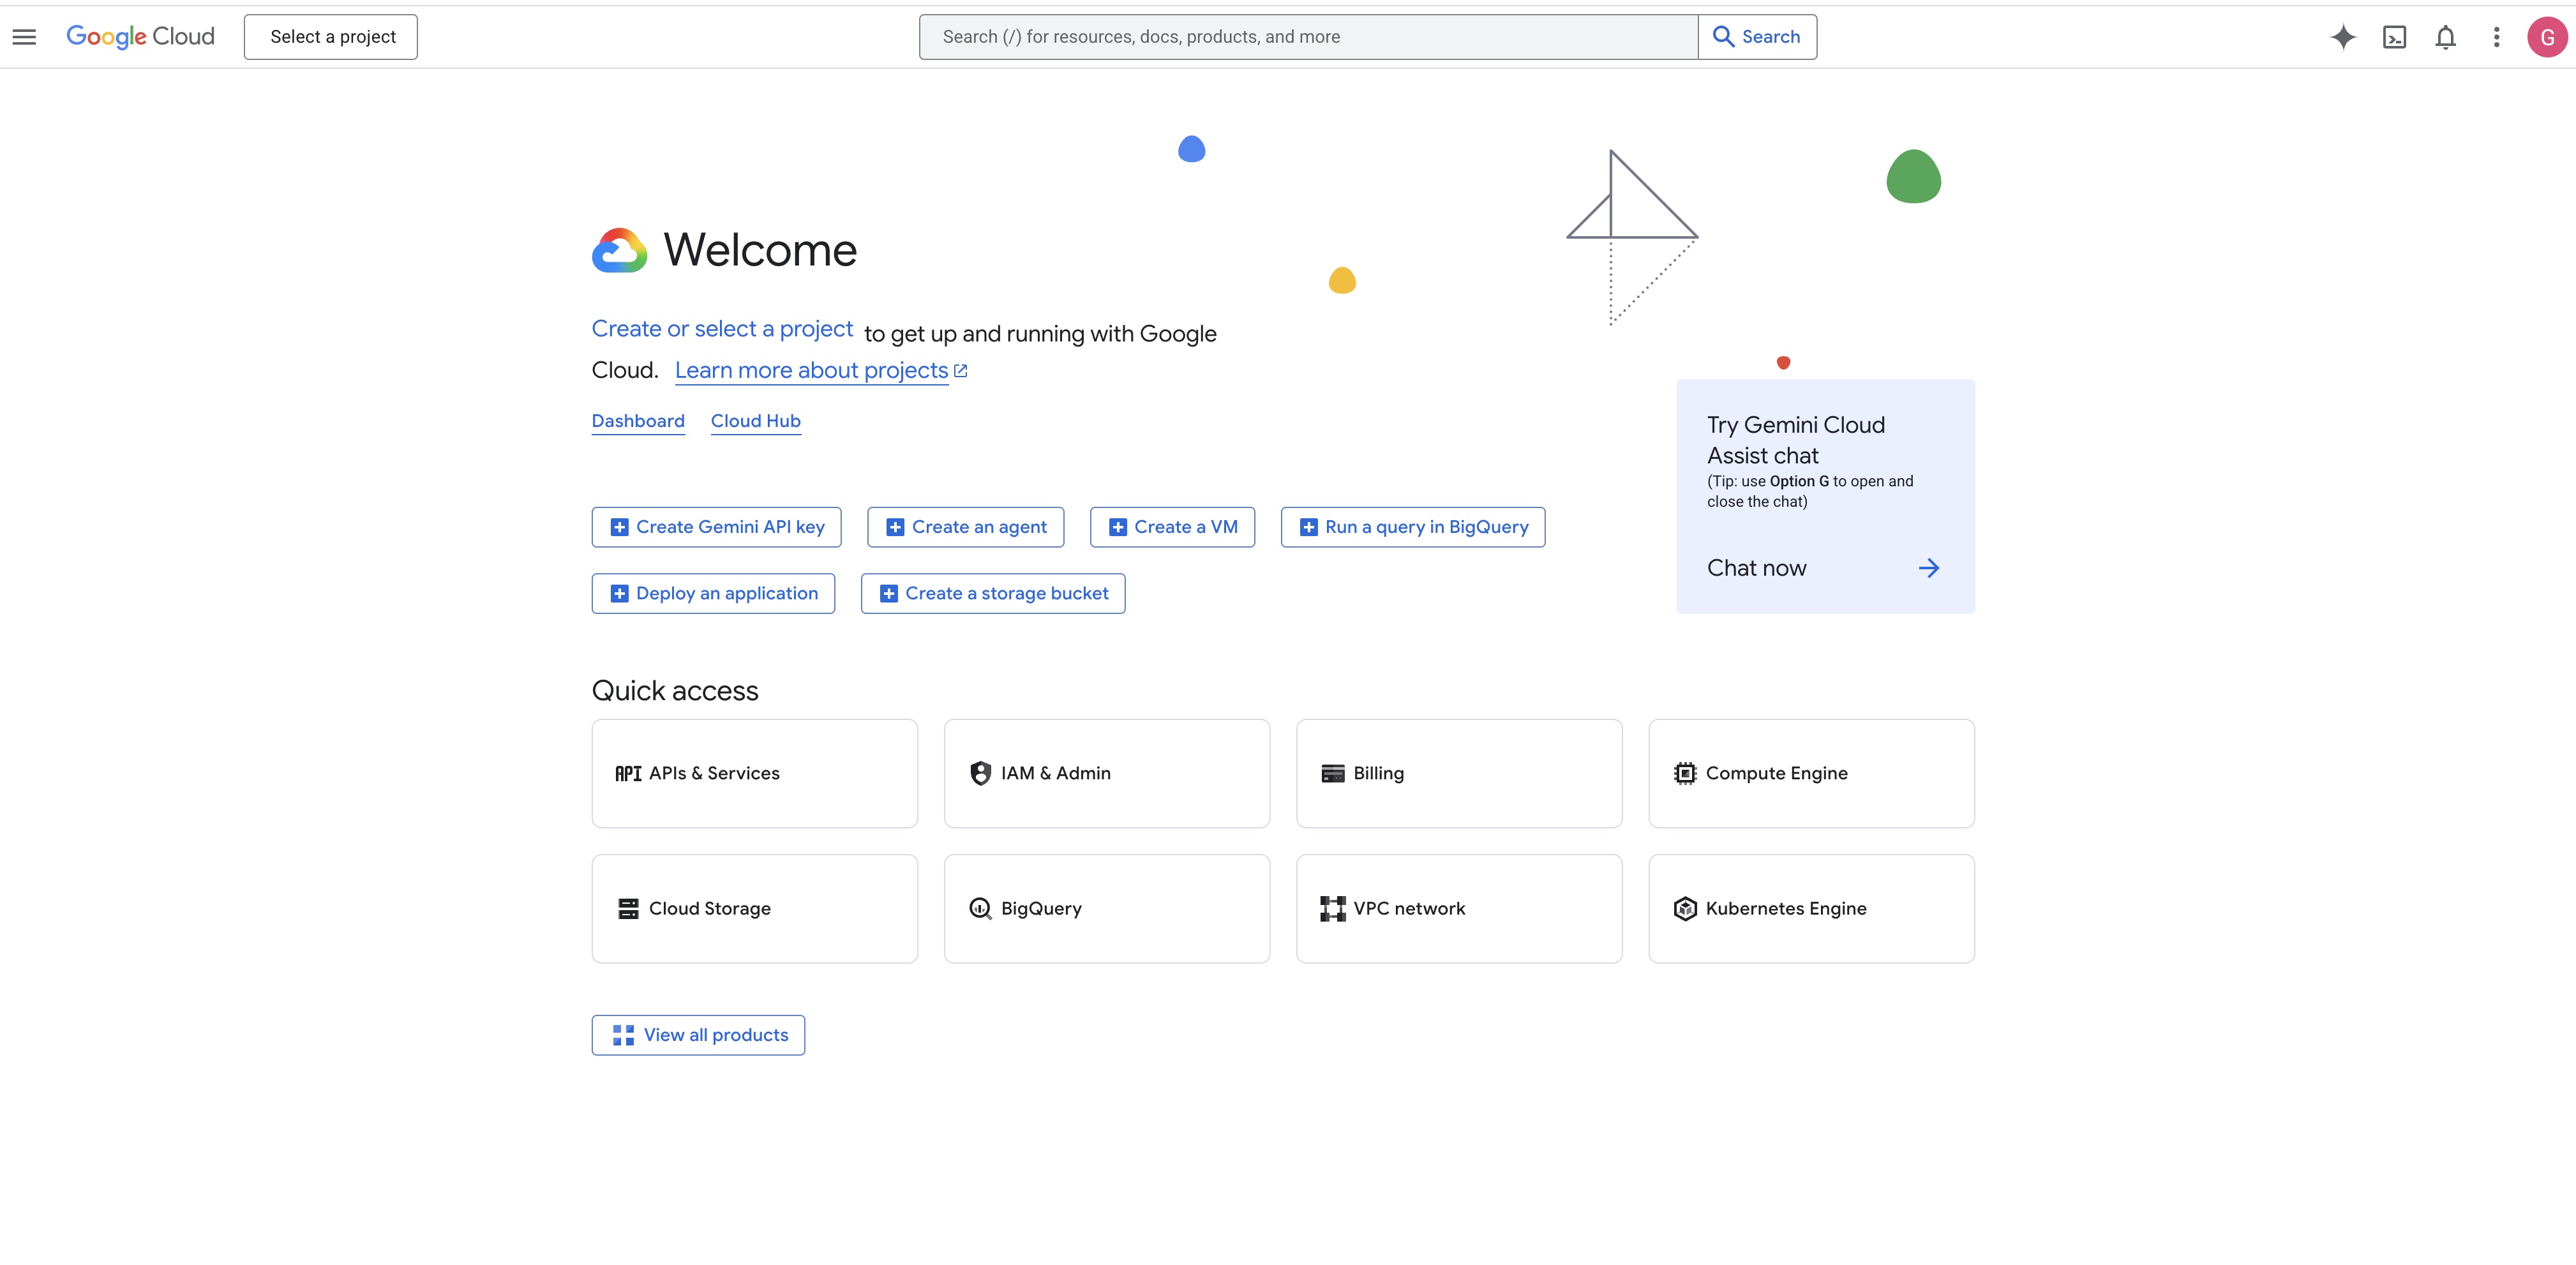
Open console.cloud.google.com and sign in with your Google account.
If this is your first time, you may be asked to agree to the terms of service. Accept and continue.
2 Create a New Project
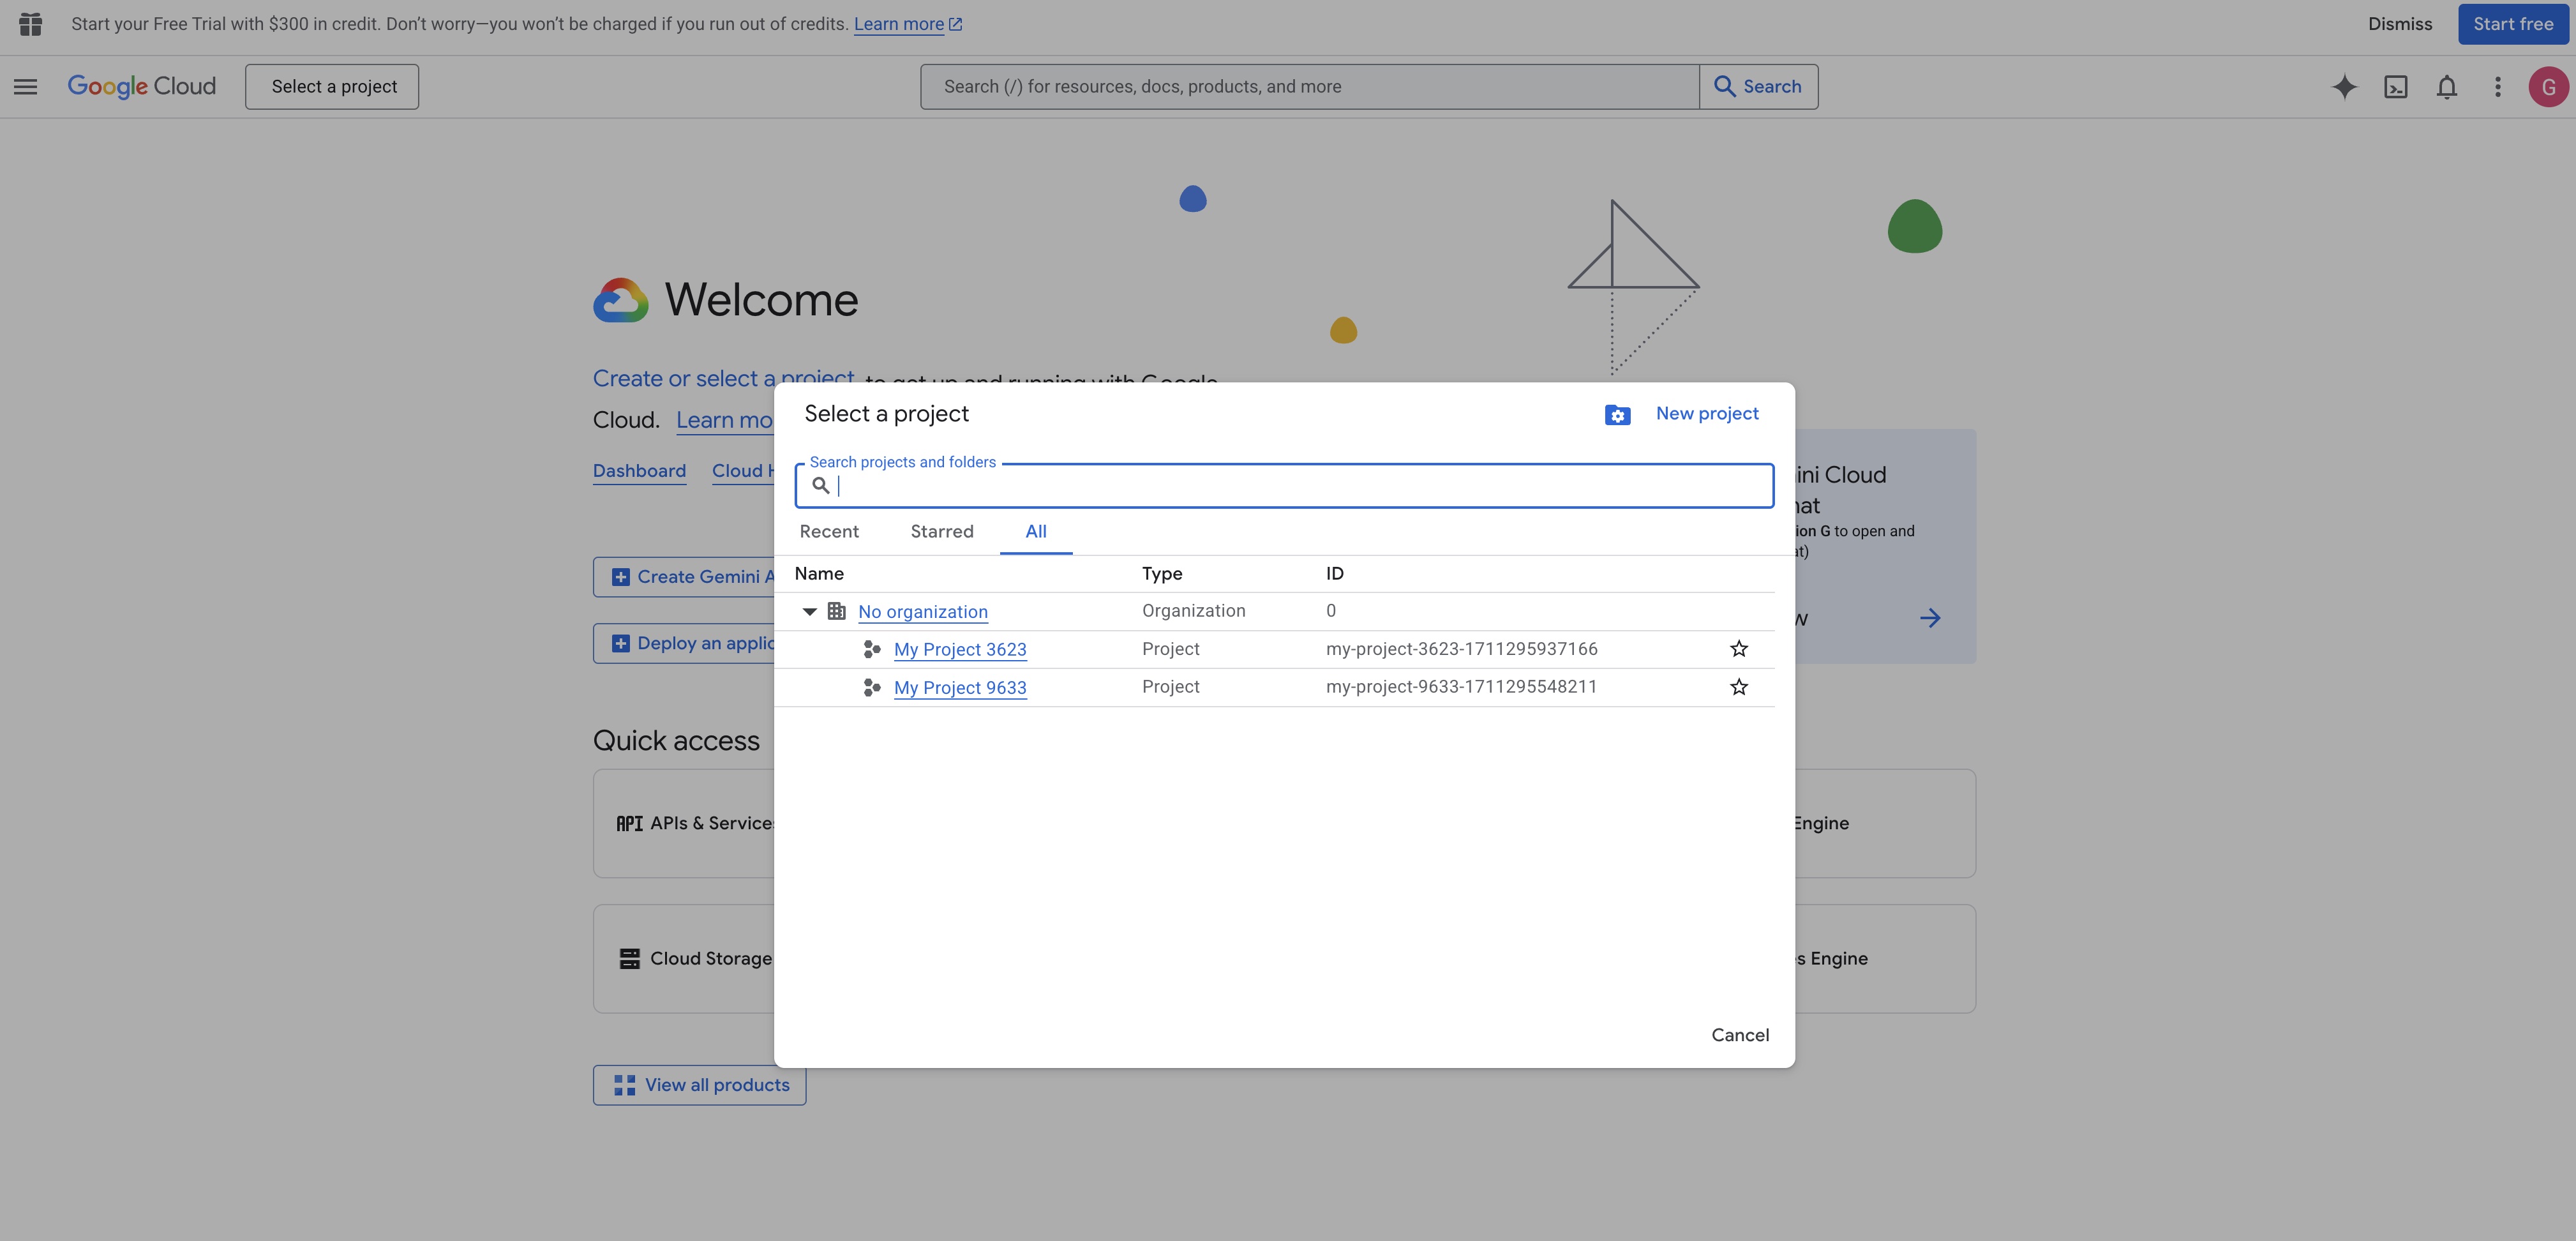
- Click the project dropdown at the top of the page (it may say "Select a project" or show an existing project name).
- Click New Project in the top-right of the popup.
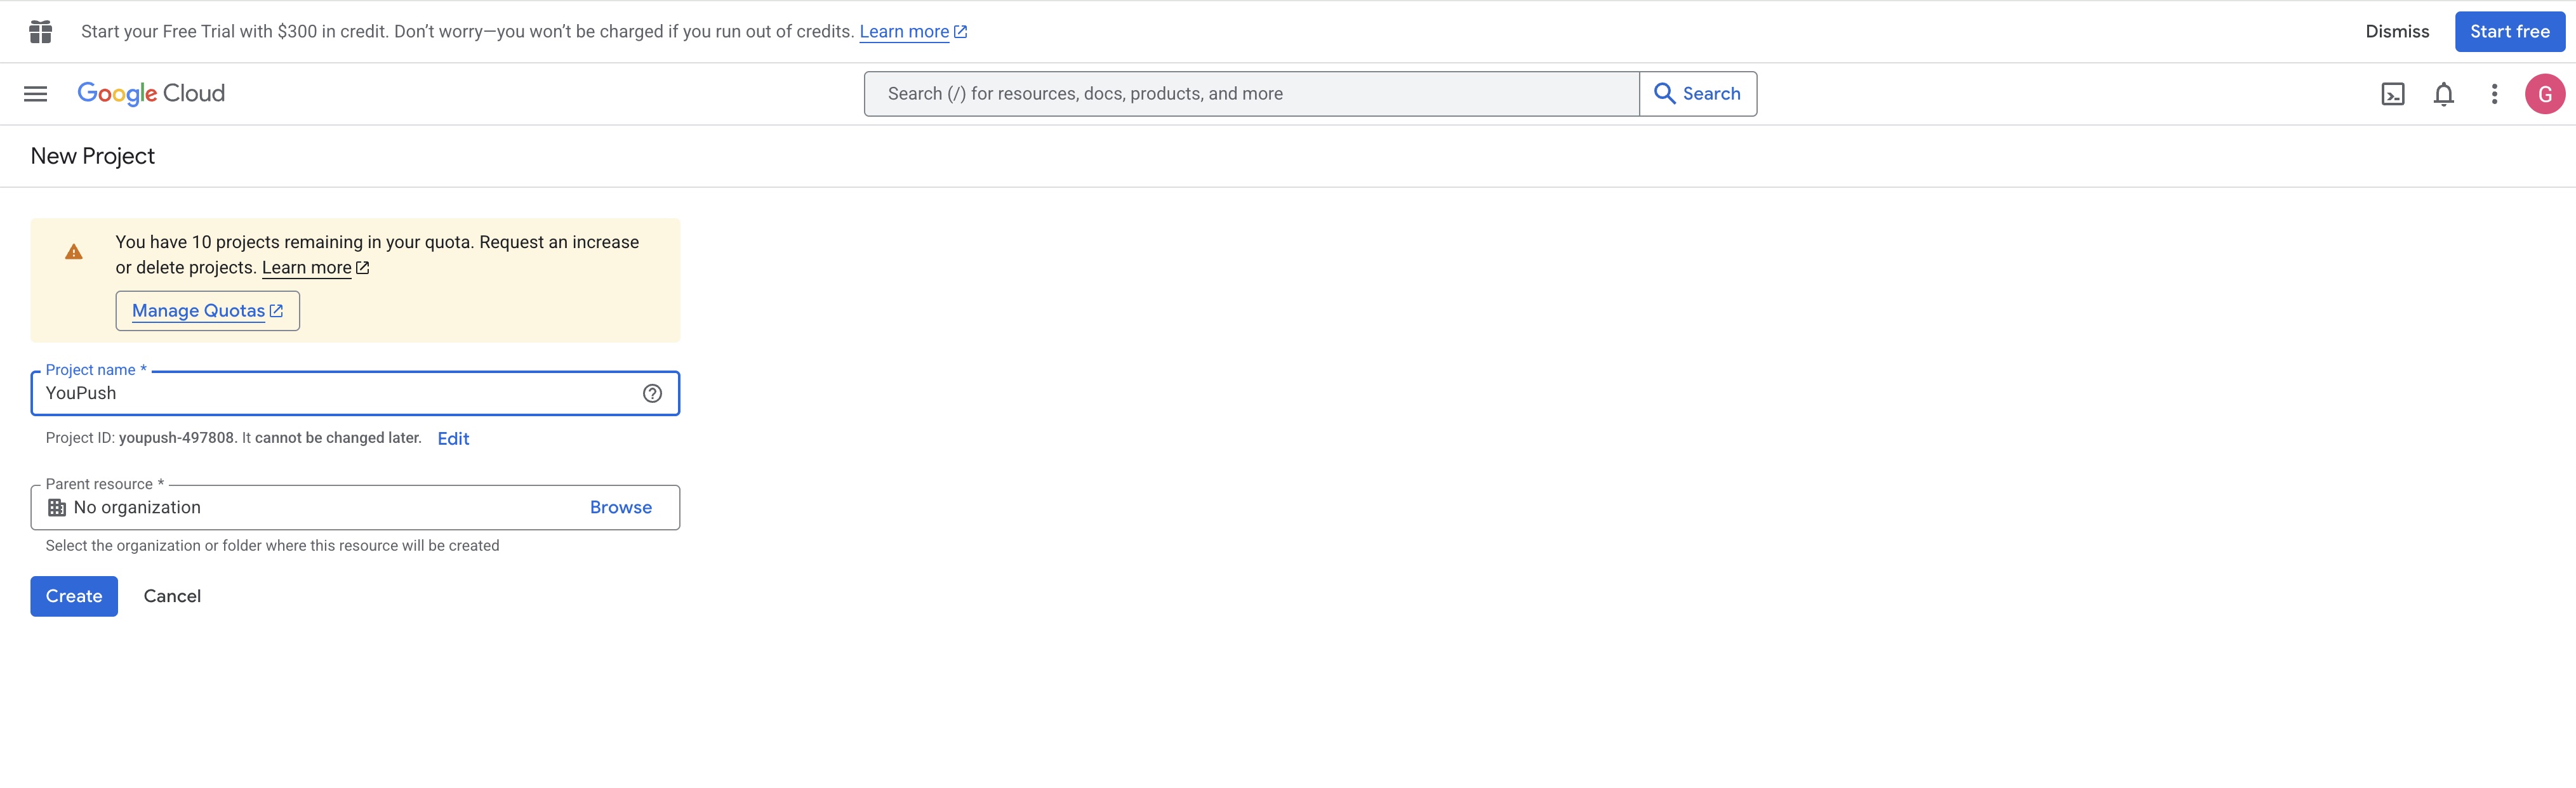
- Enter a project name — anything is fine (e.g., "YouPush" or "My YouTube App").
- Leave Organization as "No organization" if you're using a personal account.
- Click Create.
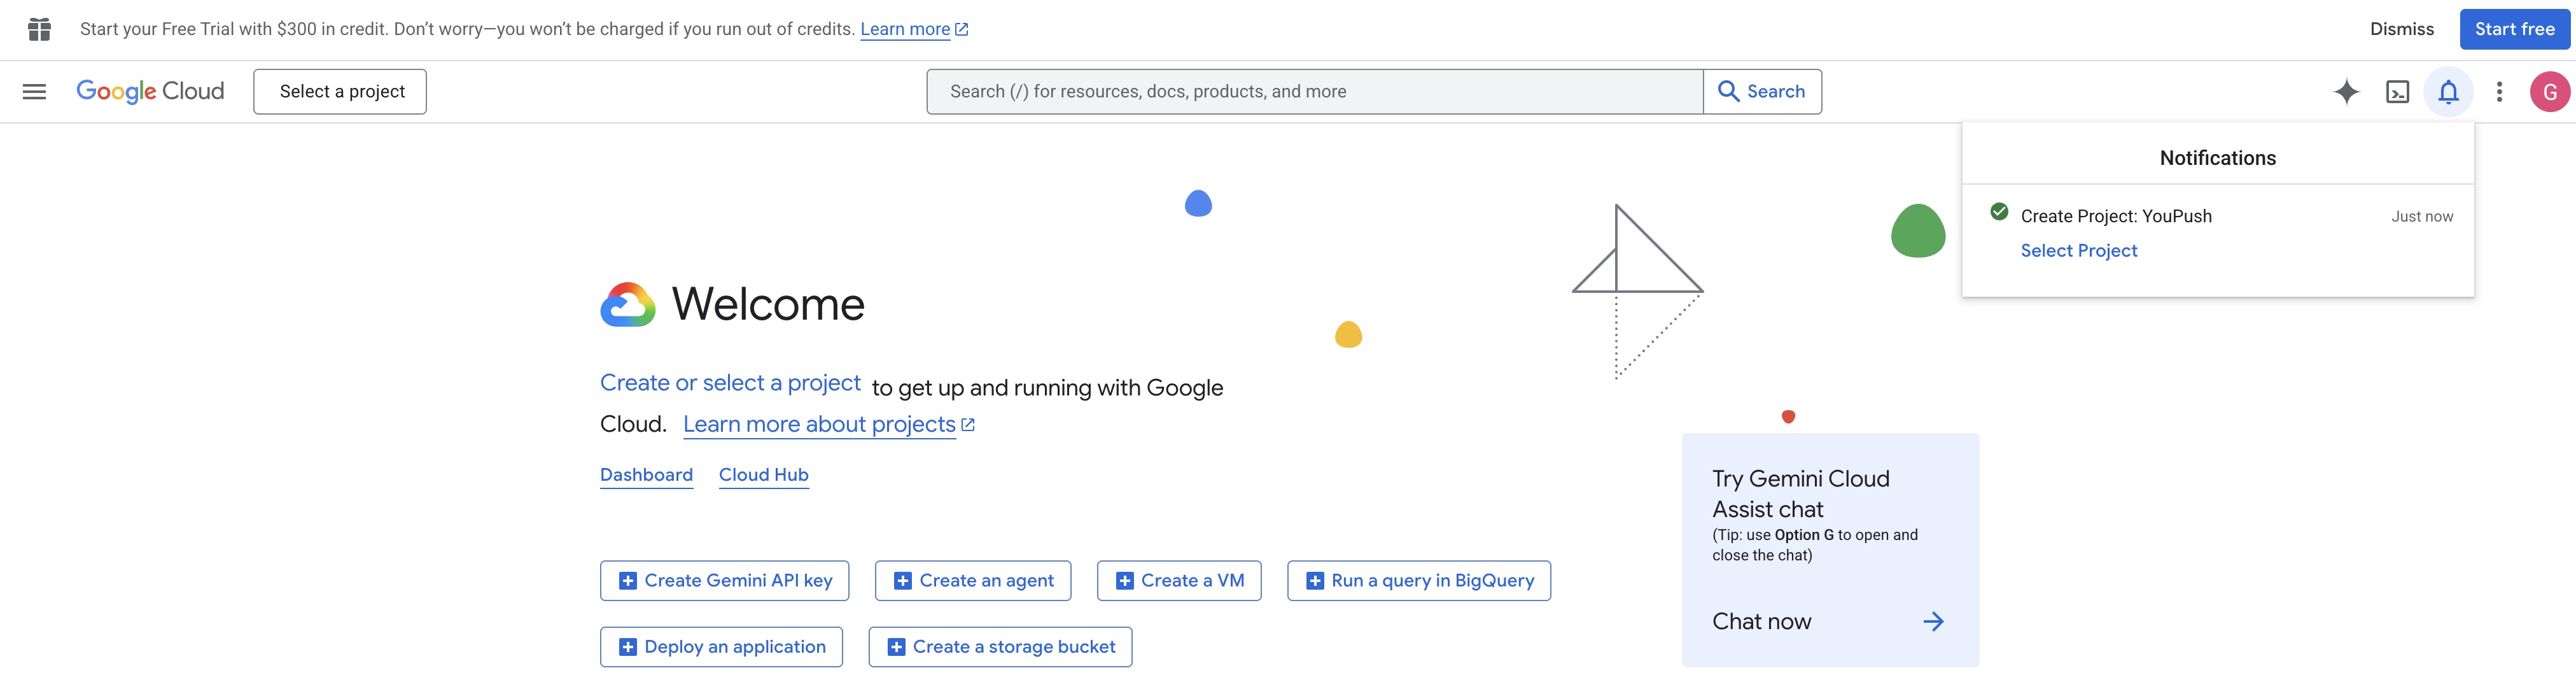
- Wait a moment, then select your new project from the dropdown to make it active.
3 Enable the YouTube Data API
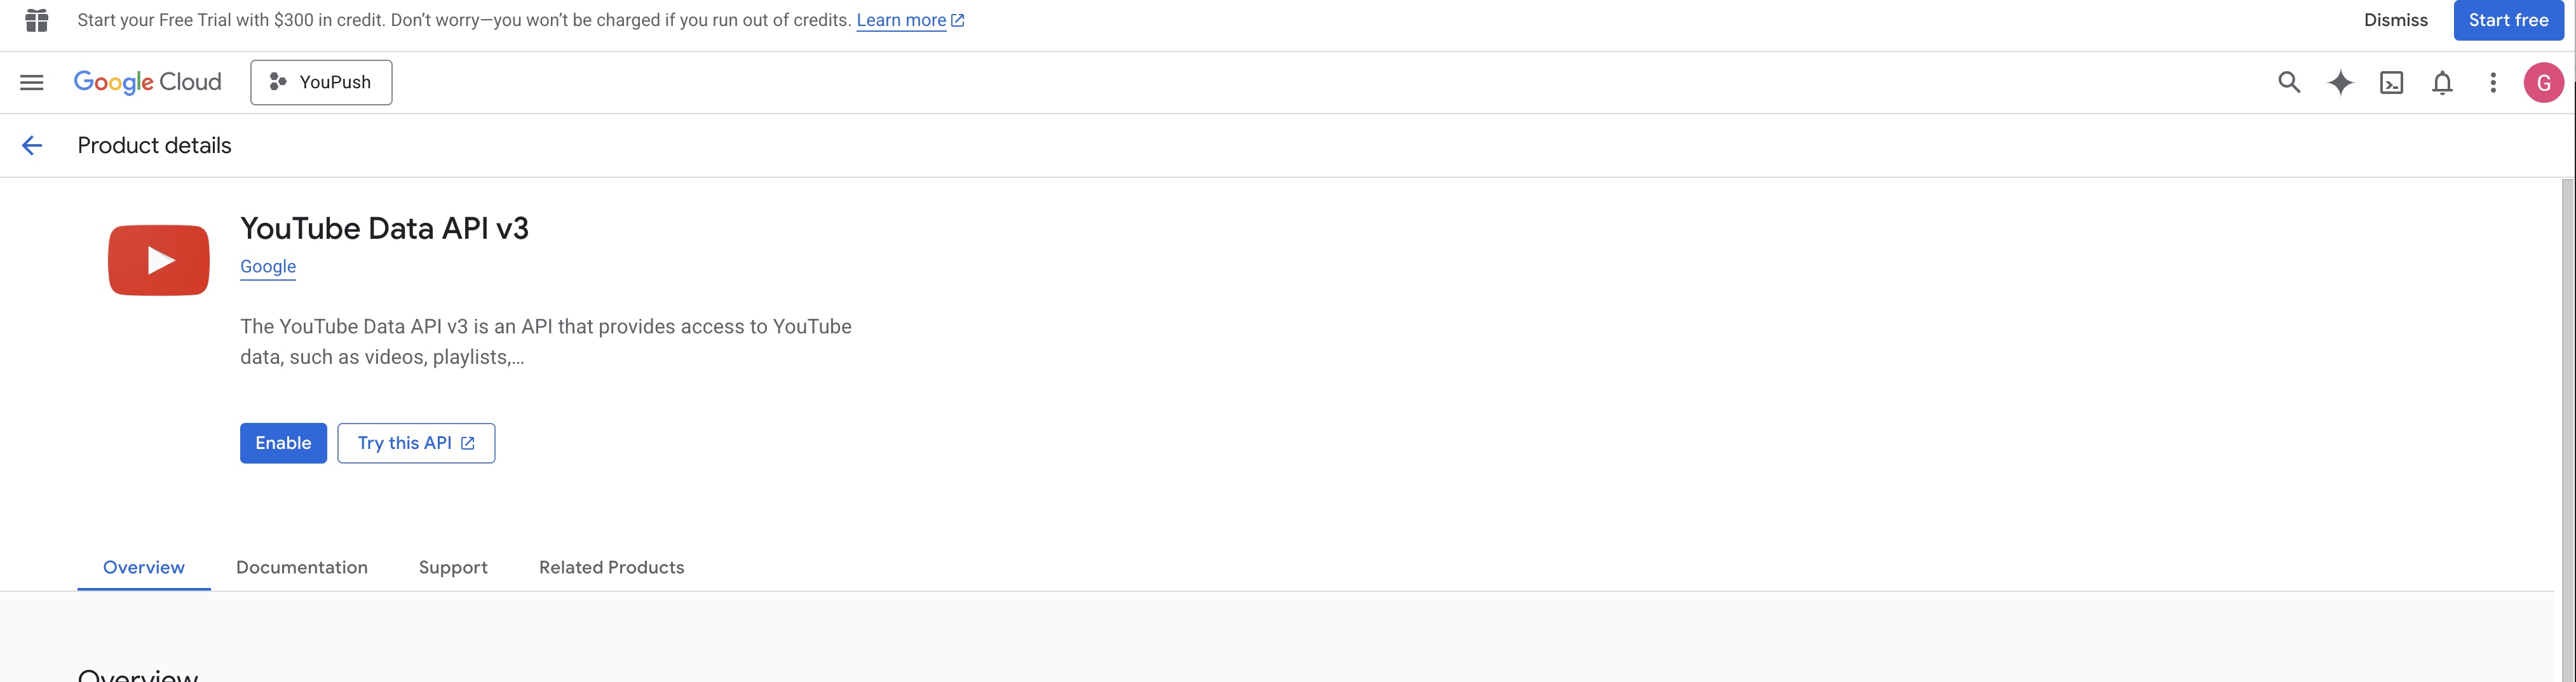
- In the search bar at the top, type YouTube Data API v3 and press Enter.
- Click YouTube Data API v3 in the results.
- Click the blue Enable button.
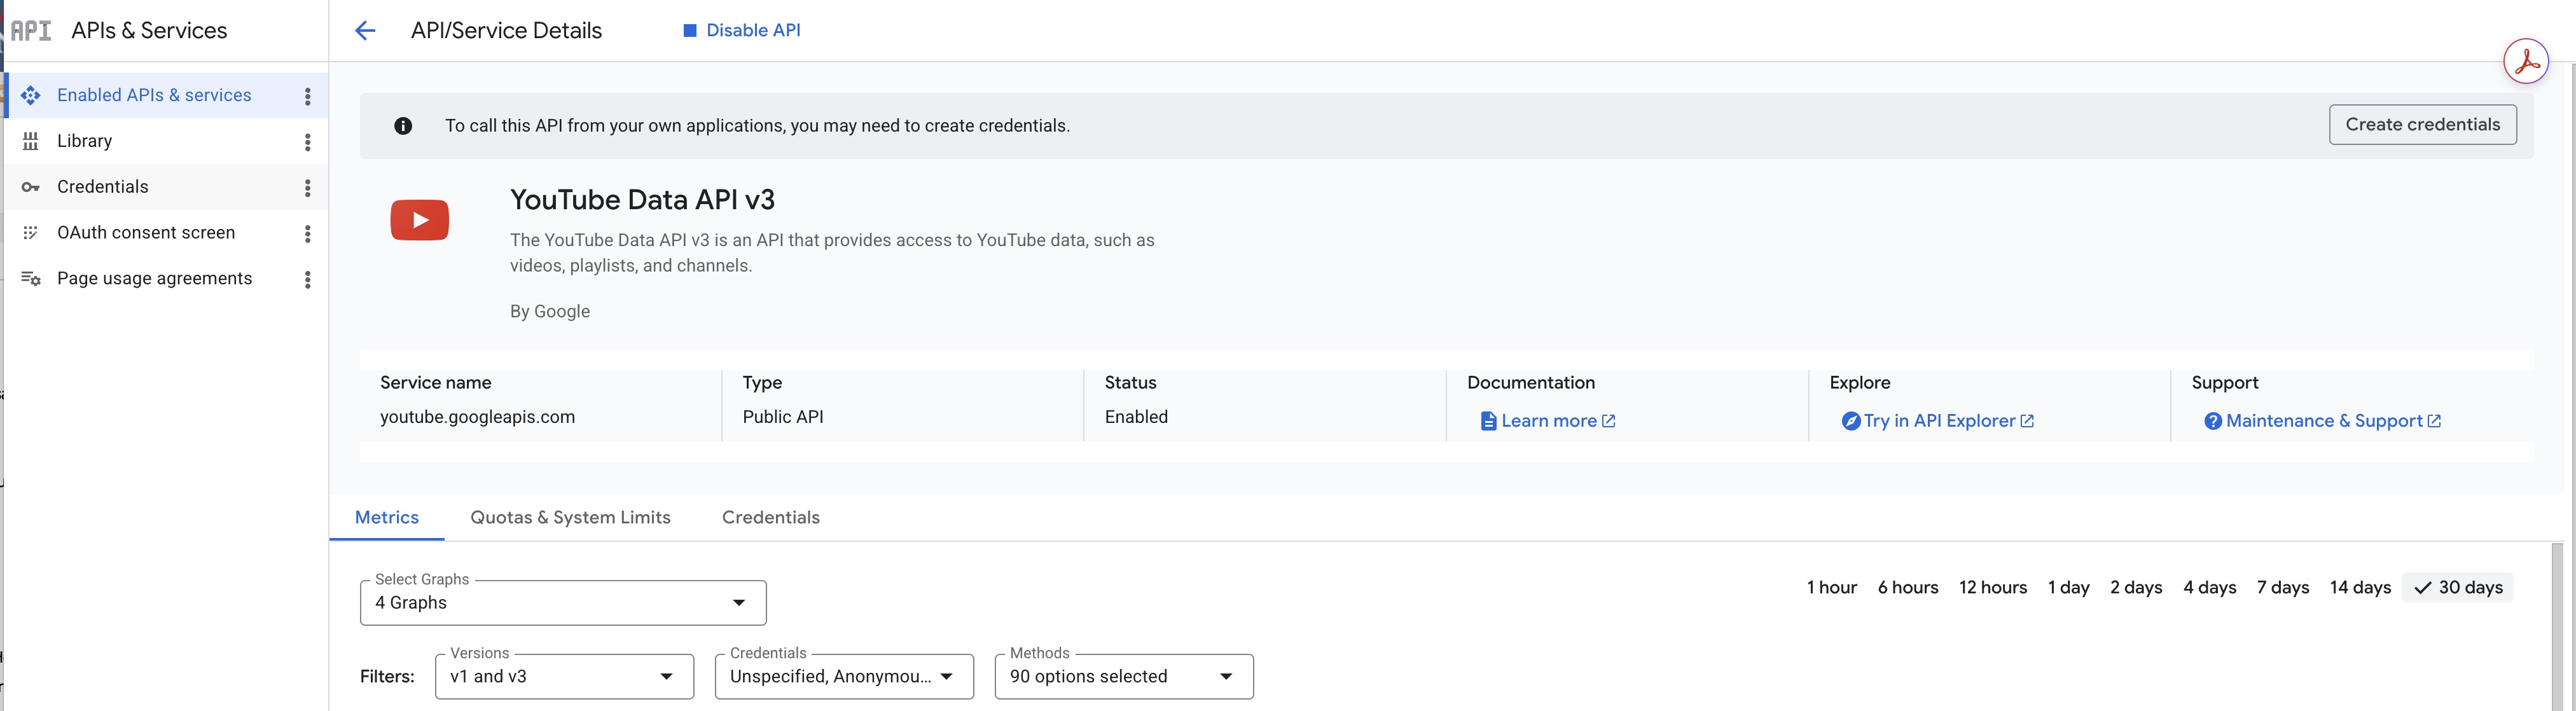
You'll see a confirmation page showing the API is now enabled with a "Disable API" option at the top. You don't need to do anything else on this page.
4 Set Up the OAuth Consent Screen
Google needs to know a few things about your app before it will let you create credentials.
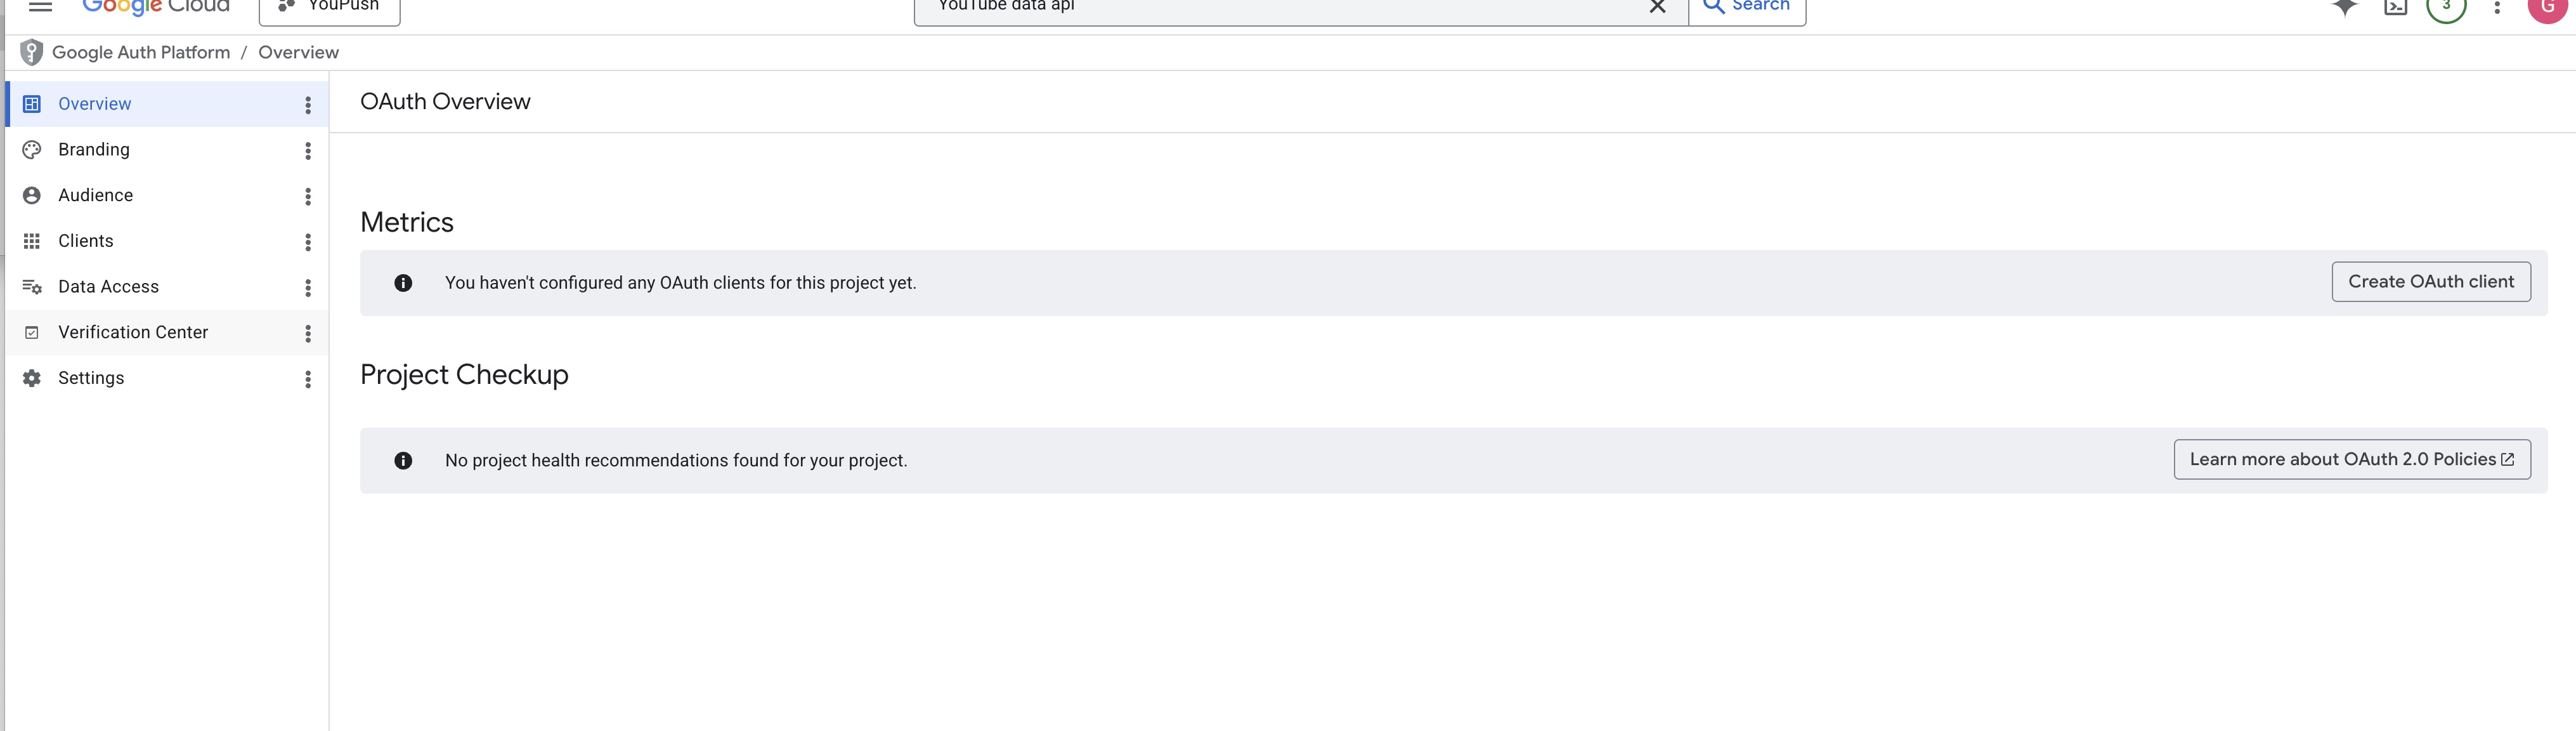
- In the search bar at the top, type Google Auth Platform and open it. Searching beats hunting through Google's menus. (On some accounts this is still labeled "OAuth consent screen.")
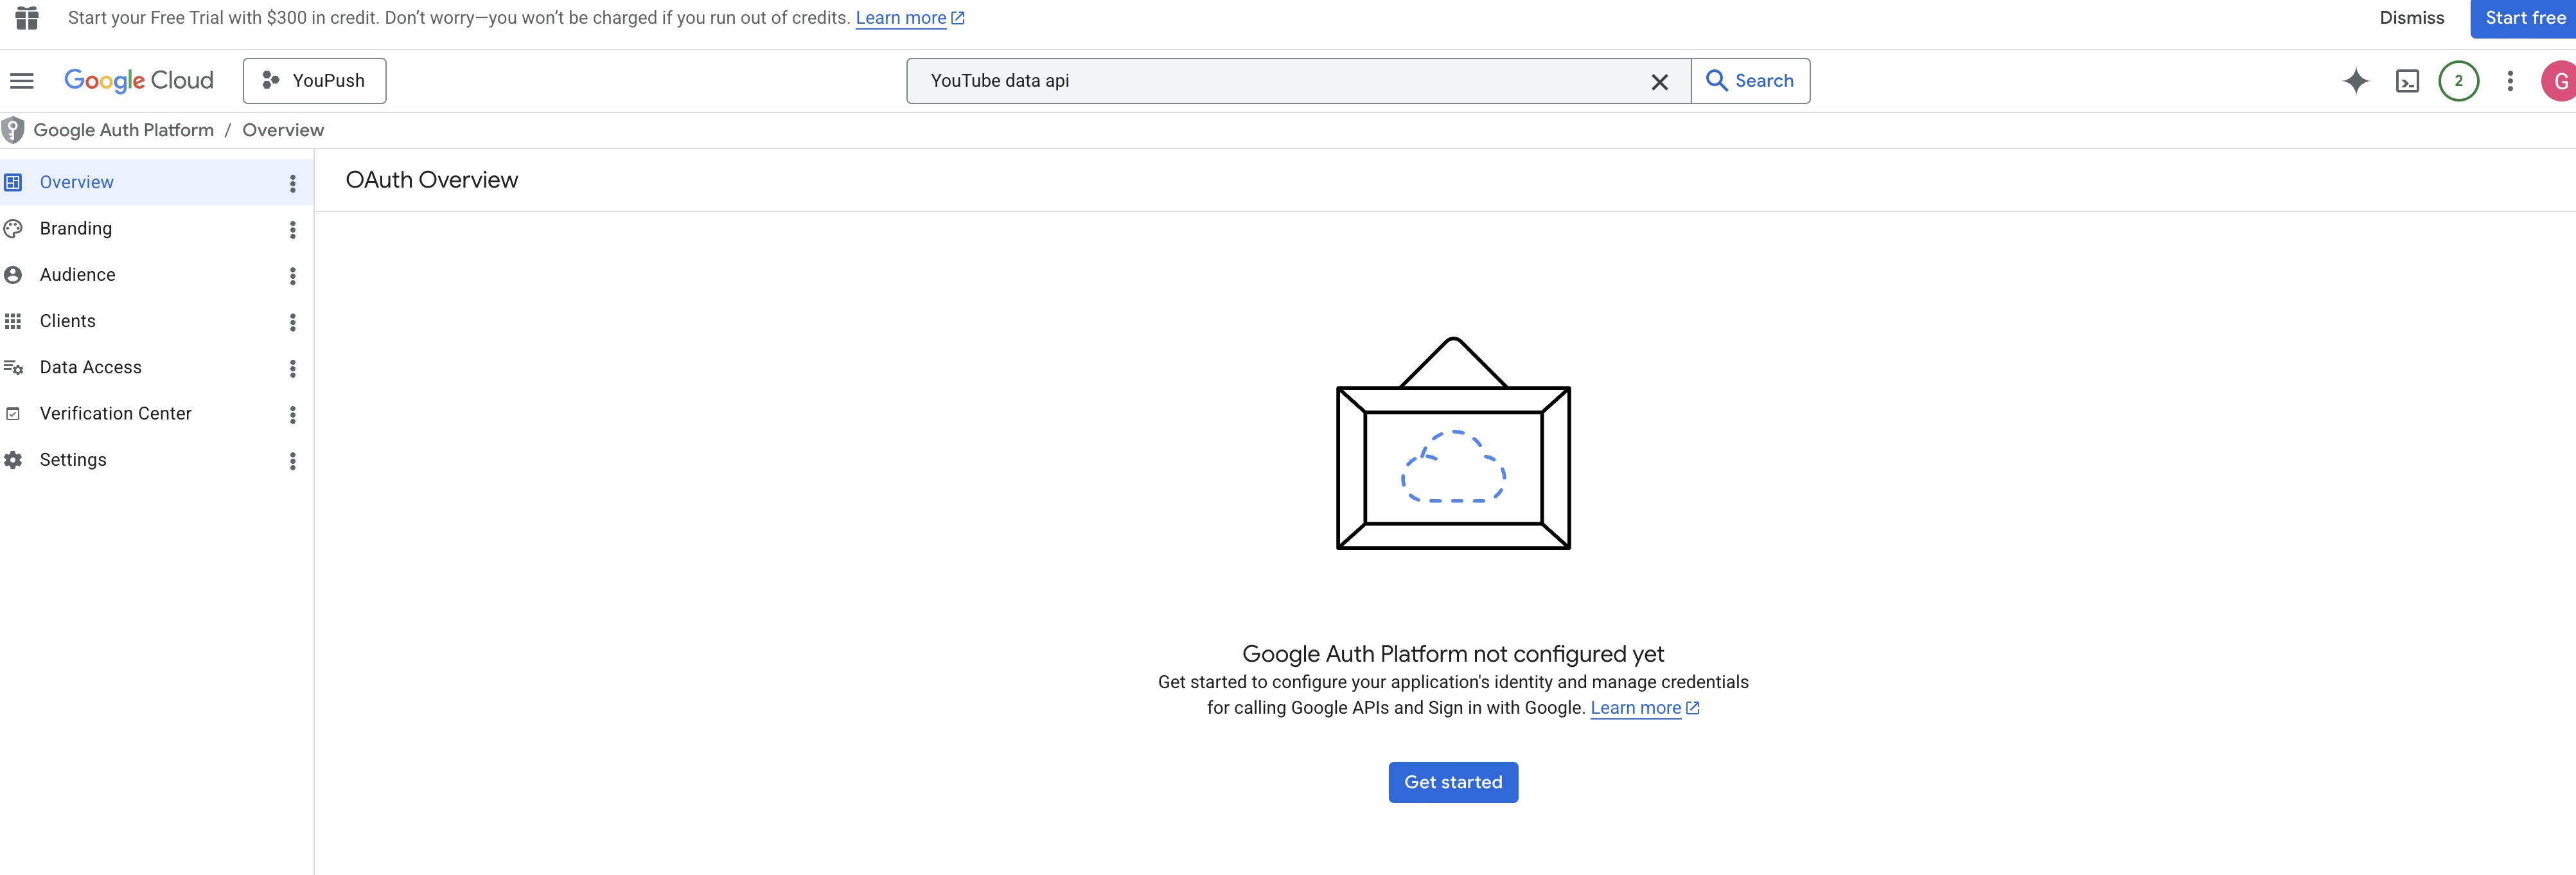
- You'll see a page titled "OAuth Overview" with a message saying the platform is not configured yet. Click Get Started.
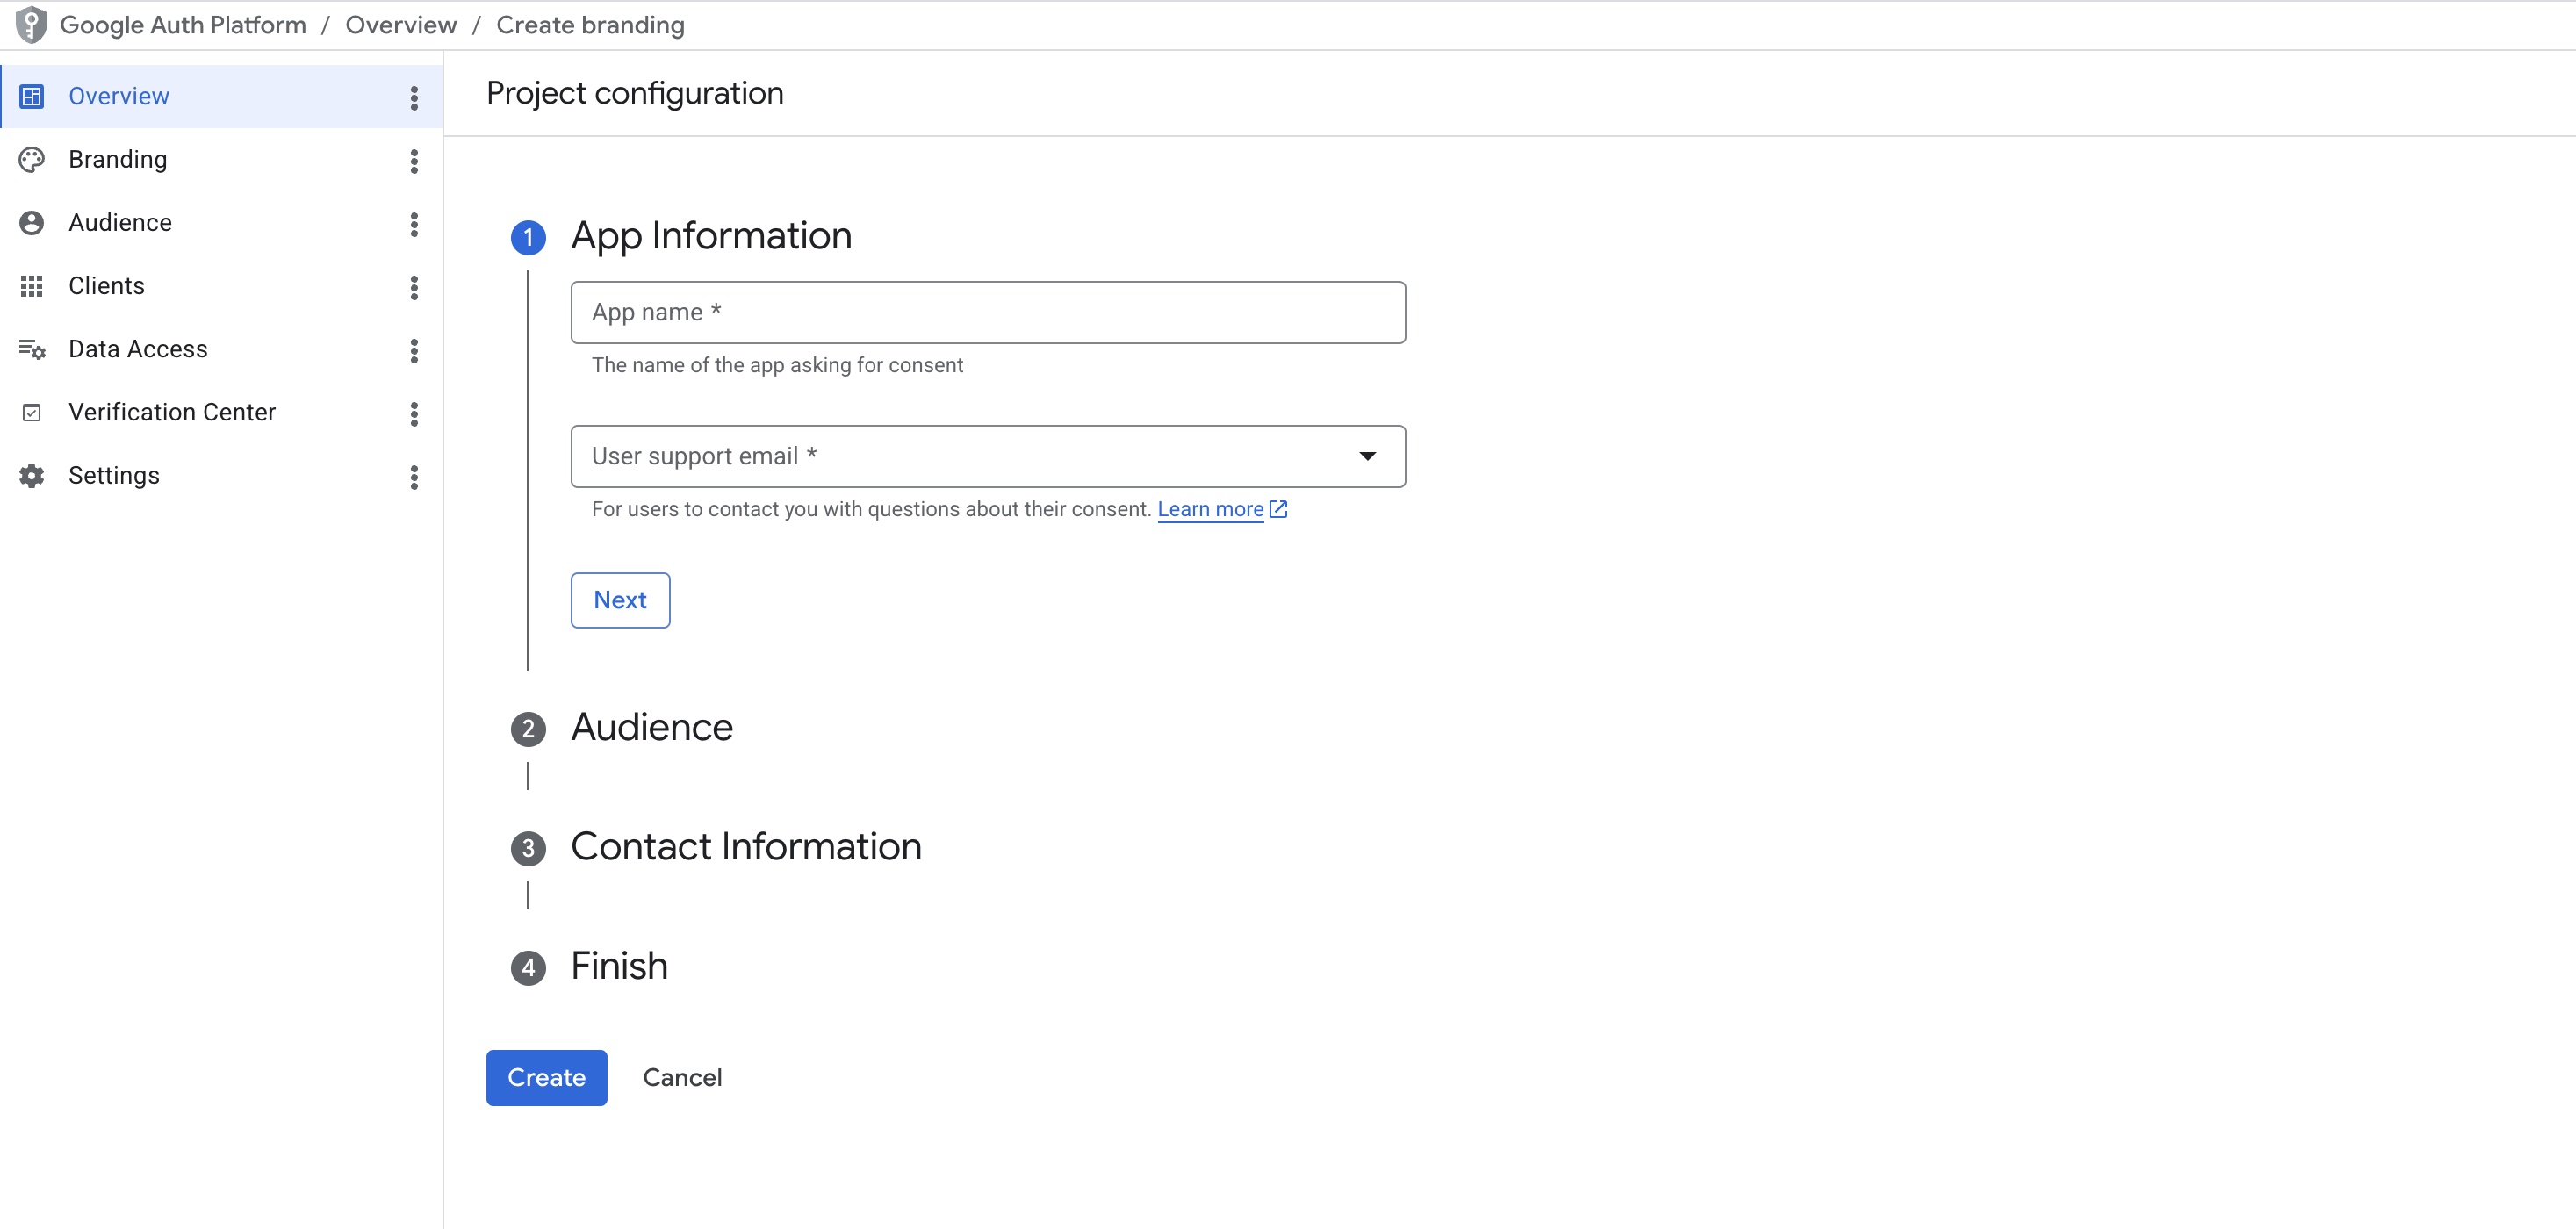
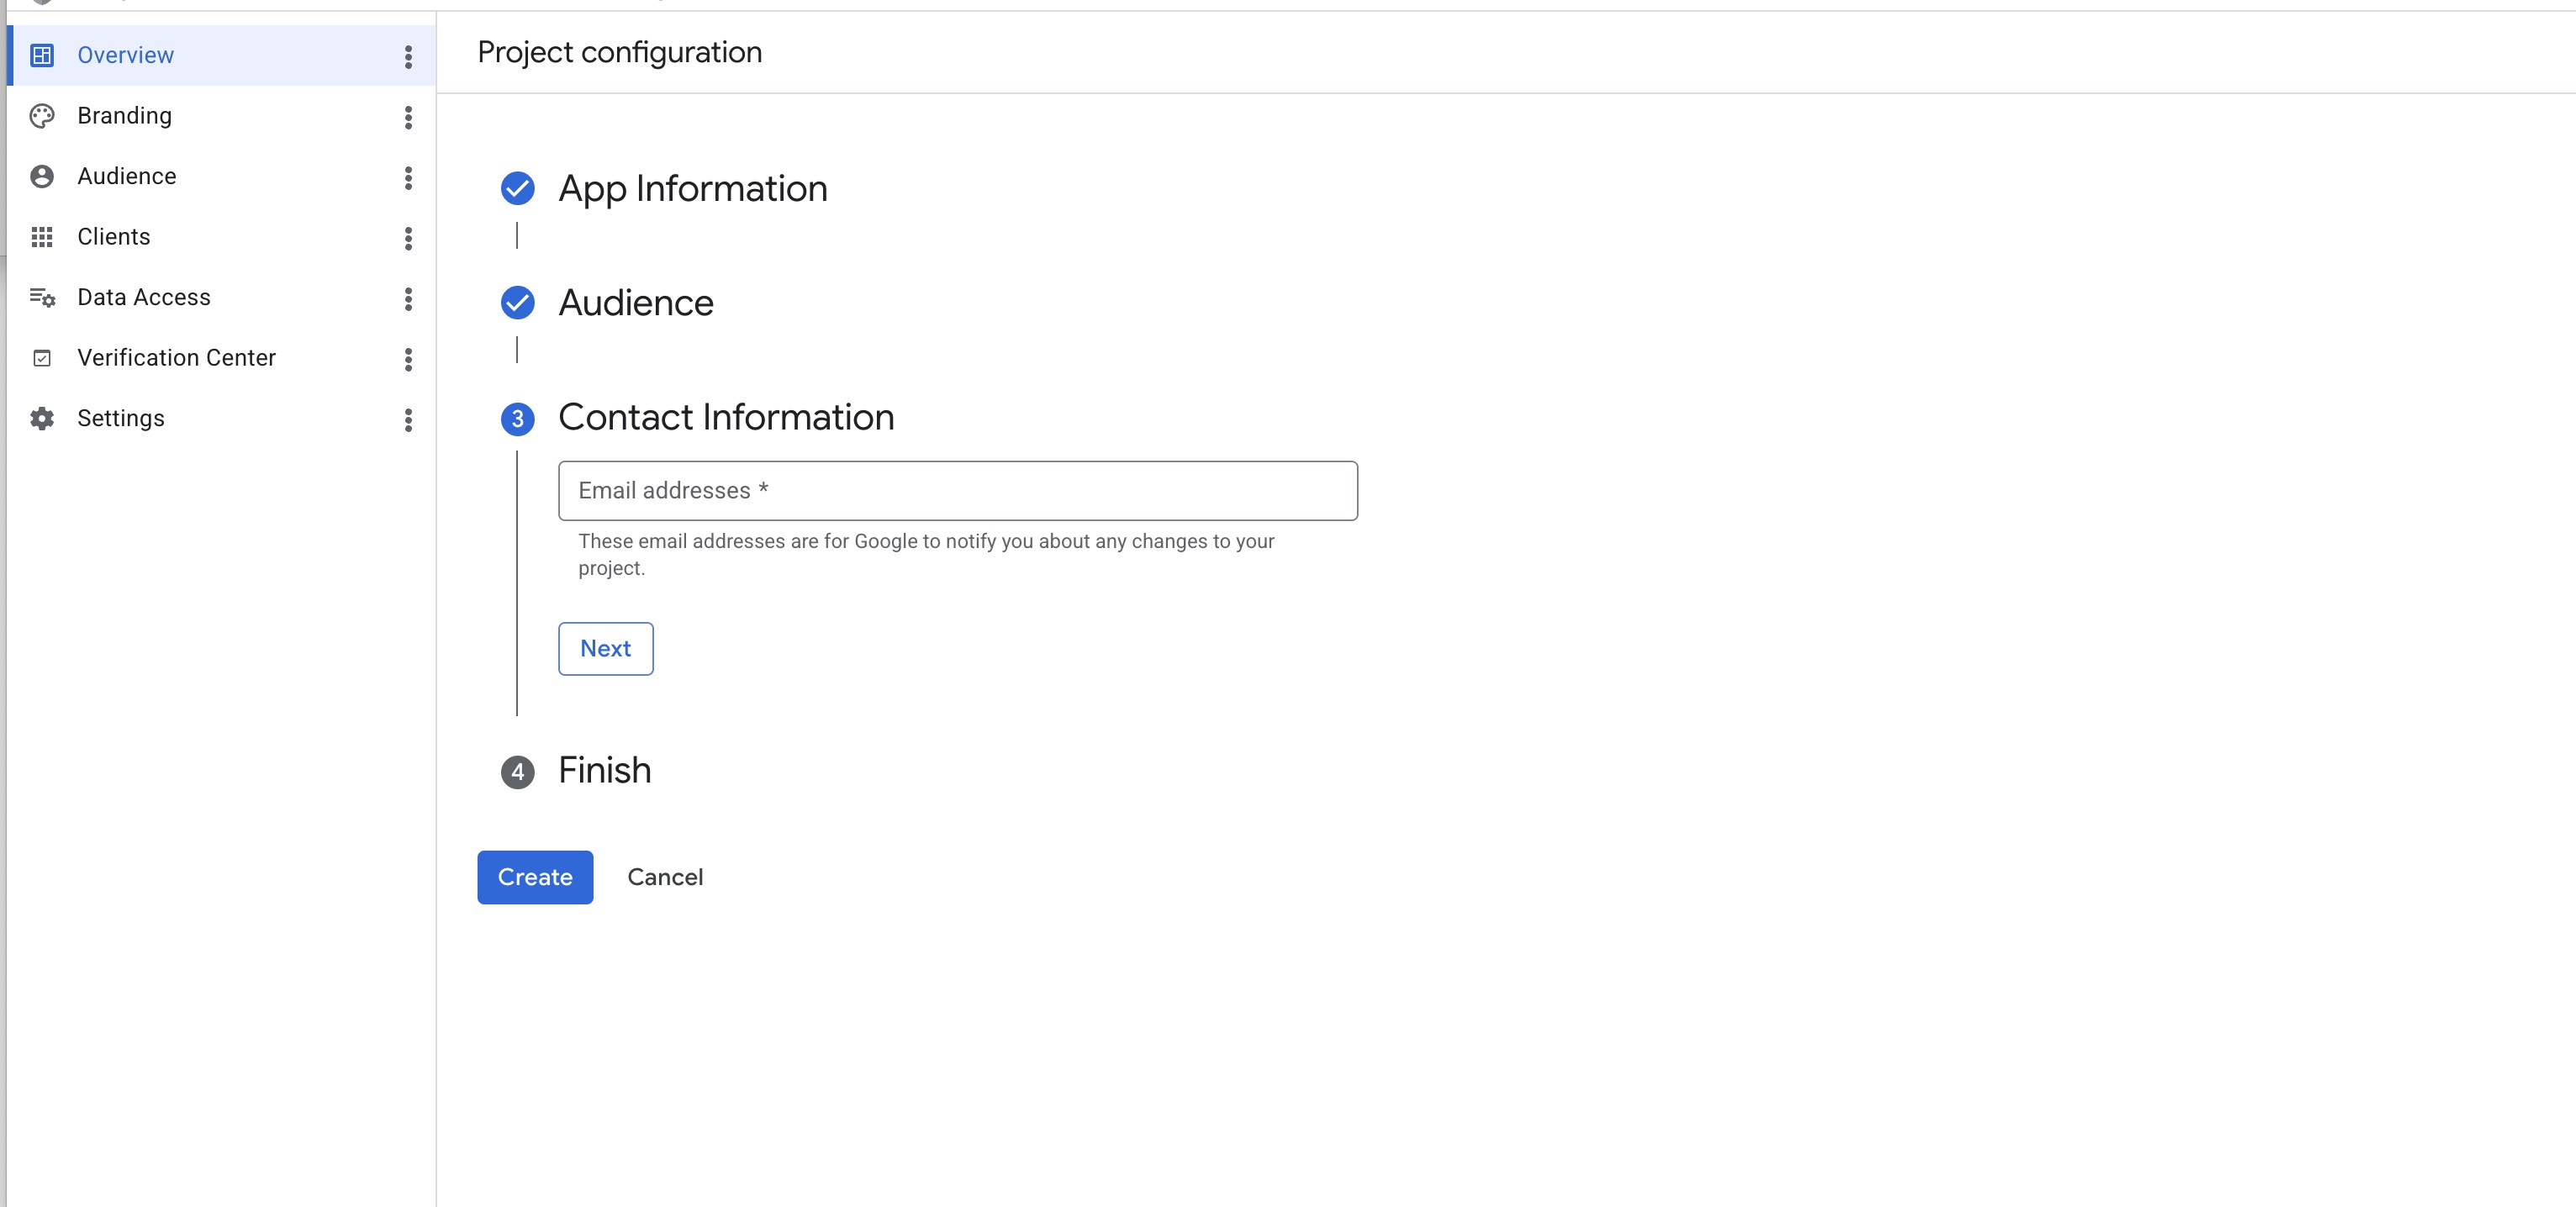
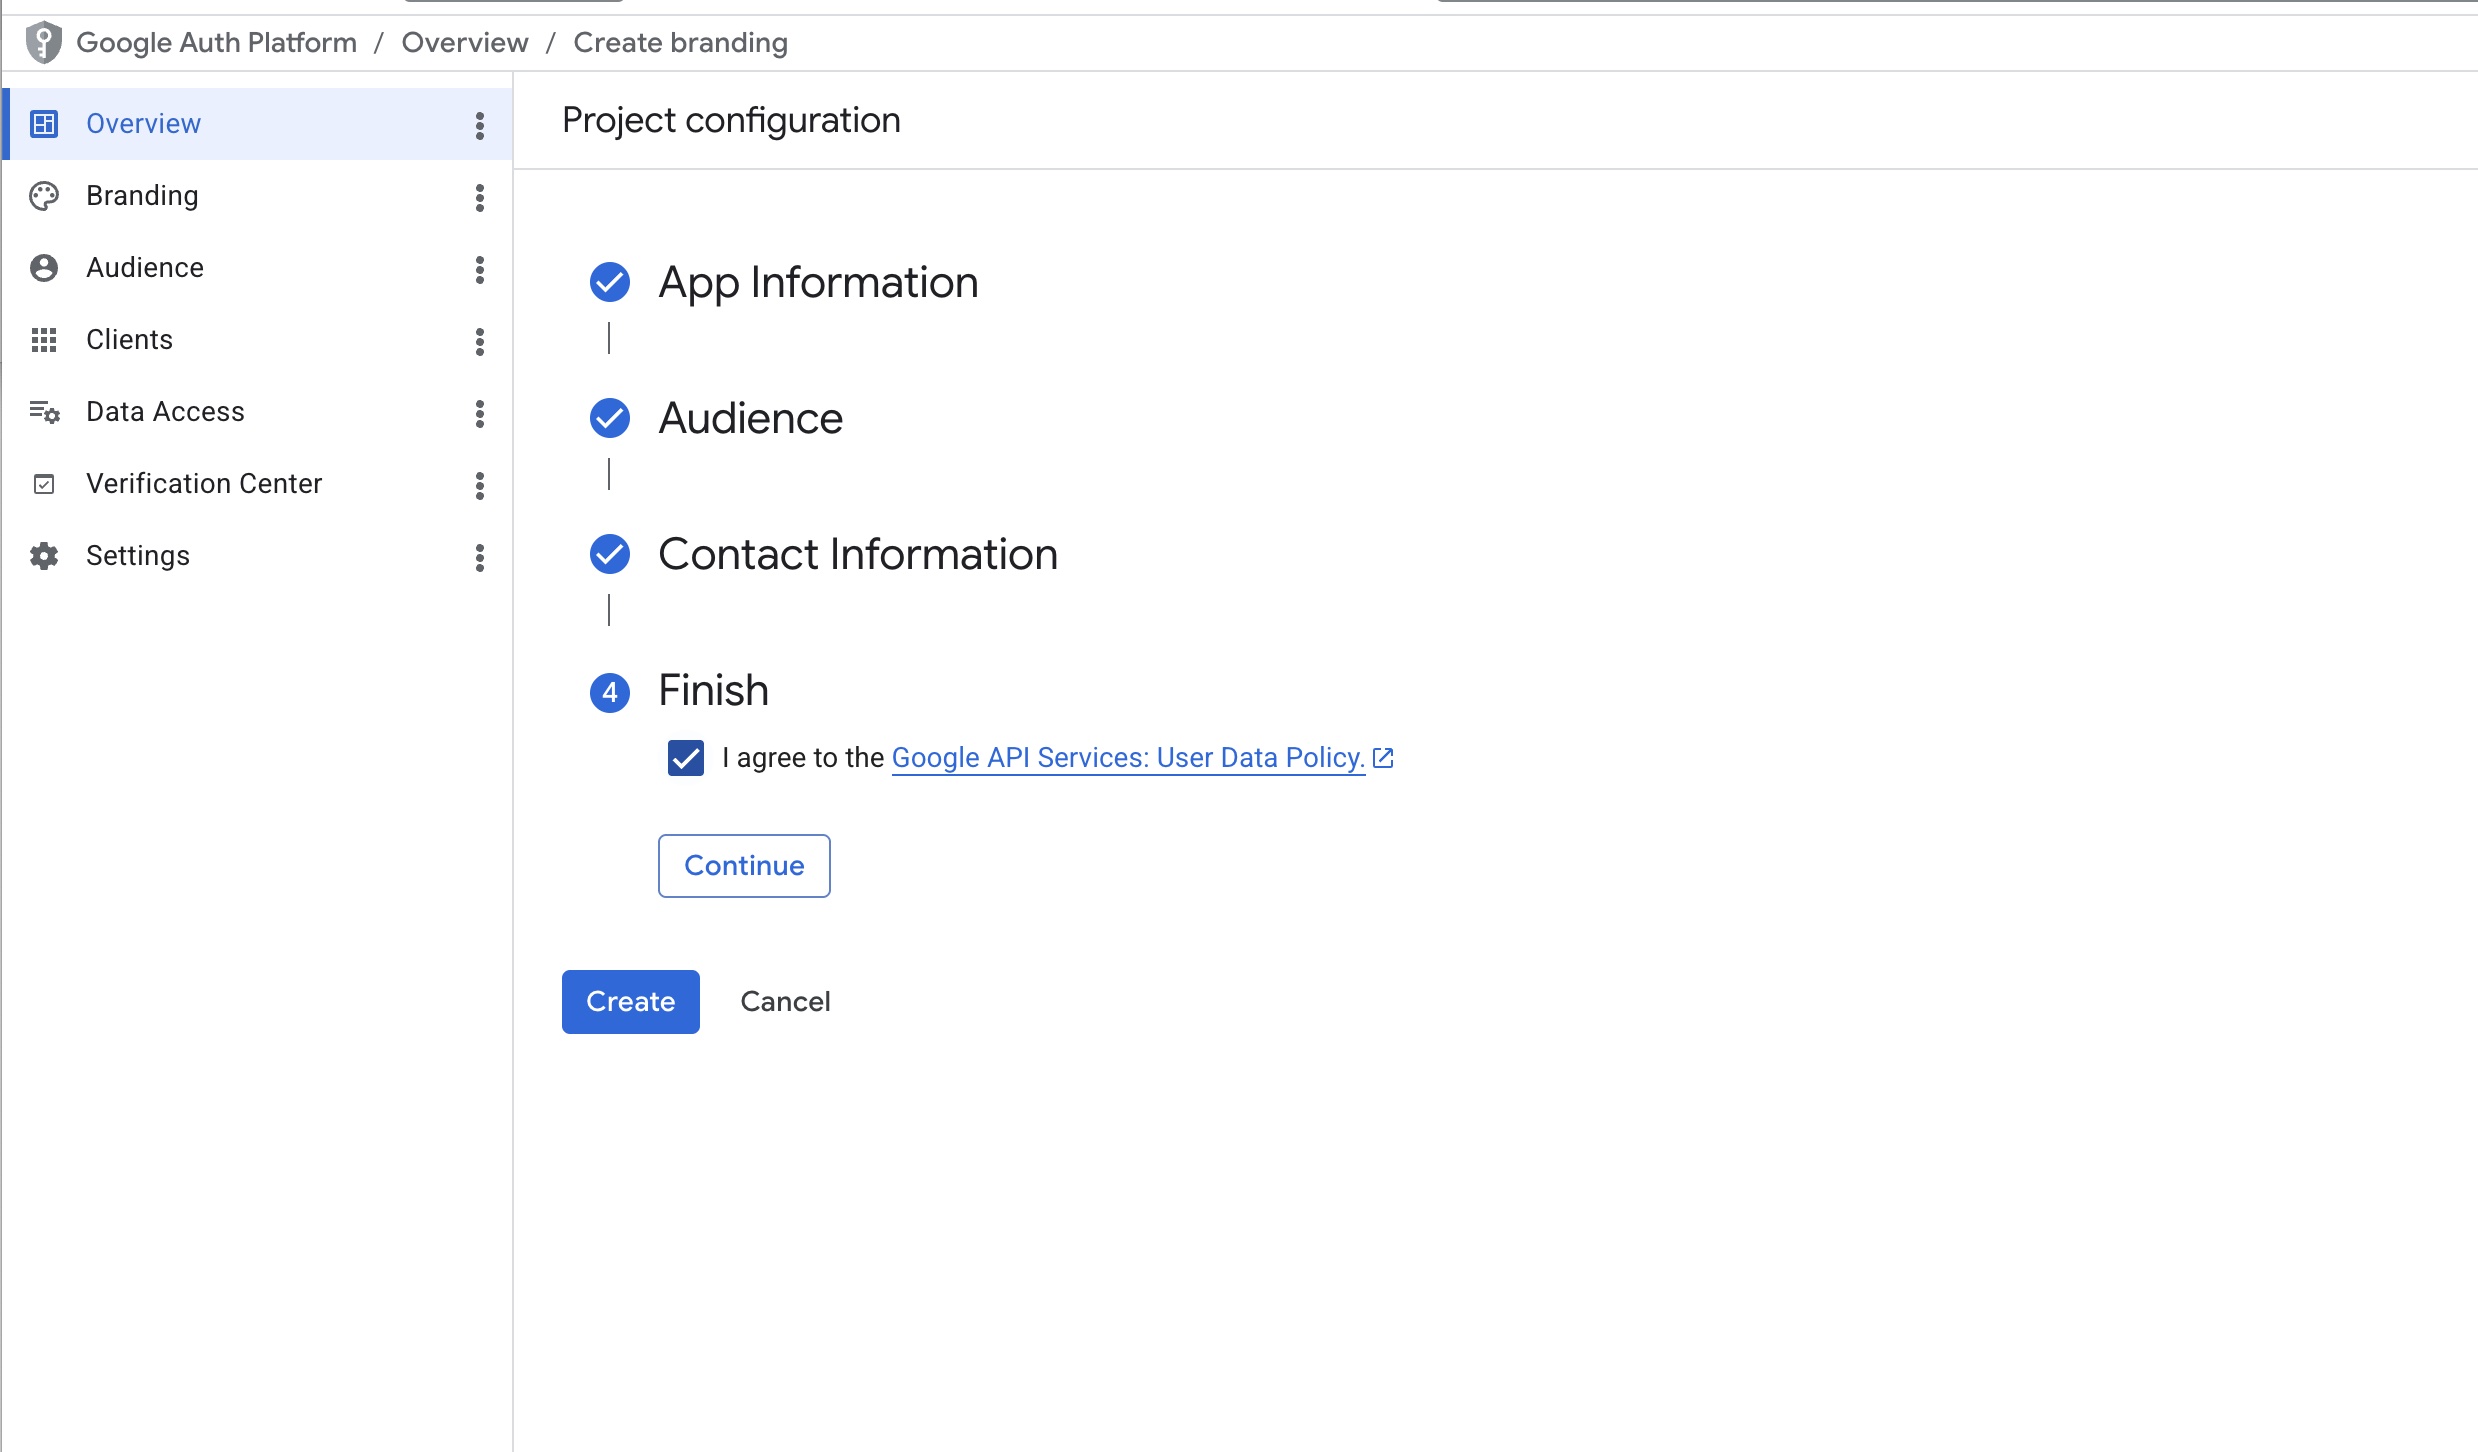
- A 4-step wizard appears:
- Step 1 — App Information: Enter any app name (e.g.,
YouPush) and select your email from the "User support email" dropdown. Click Next. - Step 2 — Audience: Select External. This works for all Google accounts. (Internal is only for paid Google Workspace accounts.) Click Next.
- Step 3 — Contact Information: Enter your email address (any email is fine — it does not have to be the Gmail your YouTube channel is on). Click Next.
- Step 4 — Finish: Check the box to agree to the Google API Services User Data Policy. Click Continue, then click Create.
- Step 1 — App Information: Enter any app name (e.g.,
5 Publish Your App
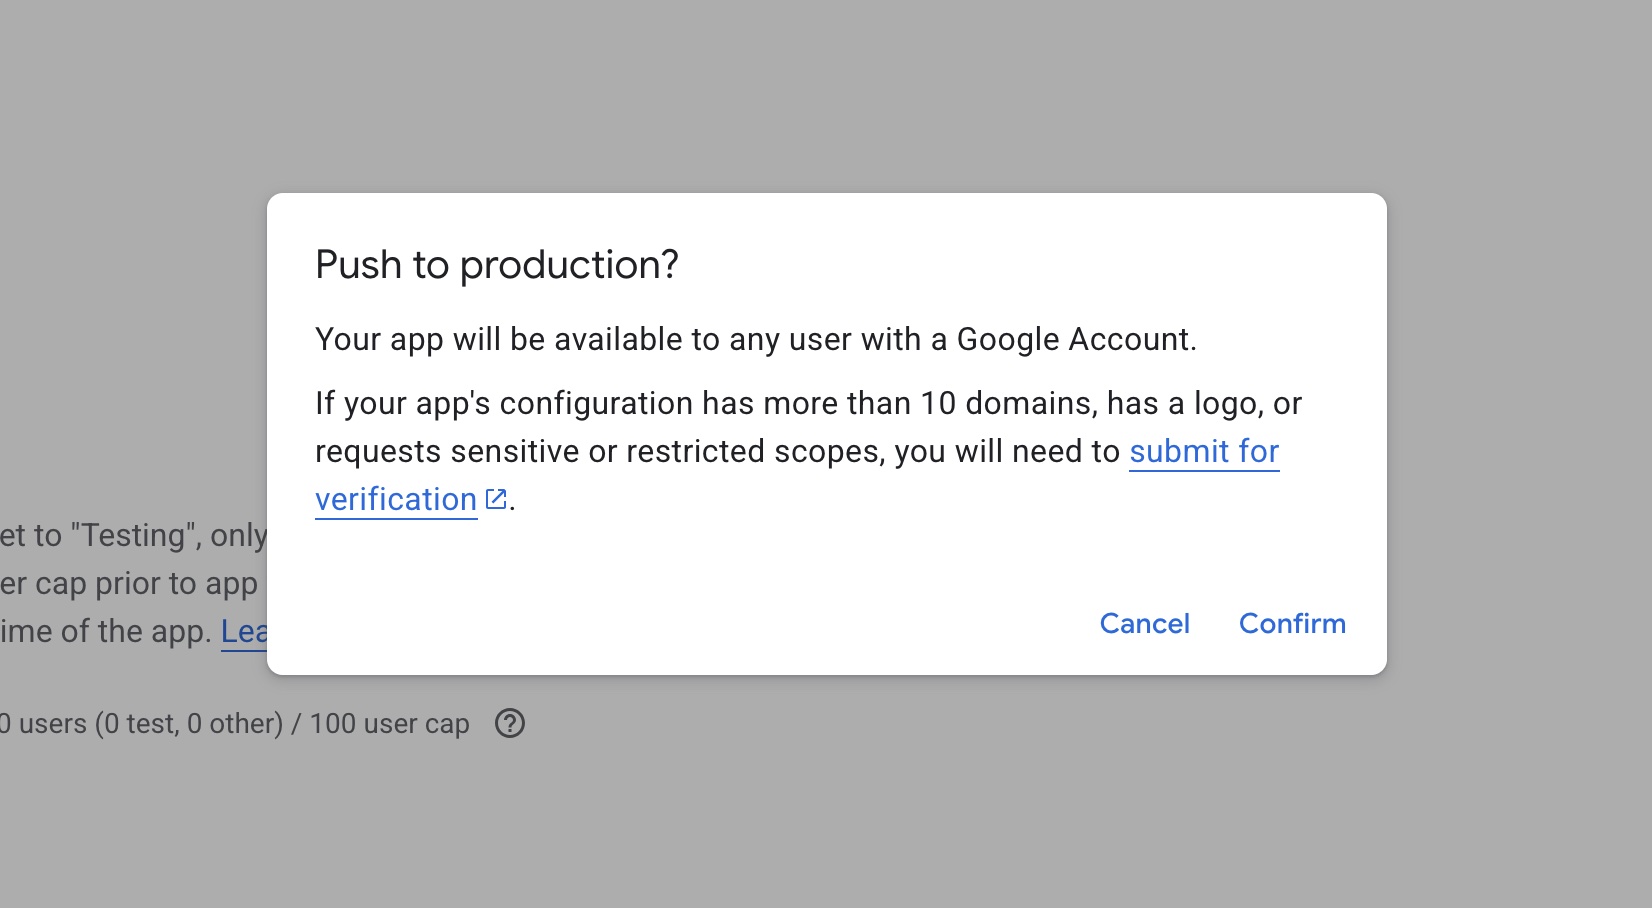
Your app starts in "Testing" mode. Leaving it there has a catch: Google expires your YouTube connection every 7 days, so you'd have to come back and redo this setup every week. Publishing the app once fixes that for good.
- In Google Auth Platform, open the Audience tab.
- Under Publishing status, click Publish app.
- Confirm in the dialog. Your status changes to In production.
6 Create Your Credentials
Now you'll create the Client ID and Client Secret that YouPush needs.
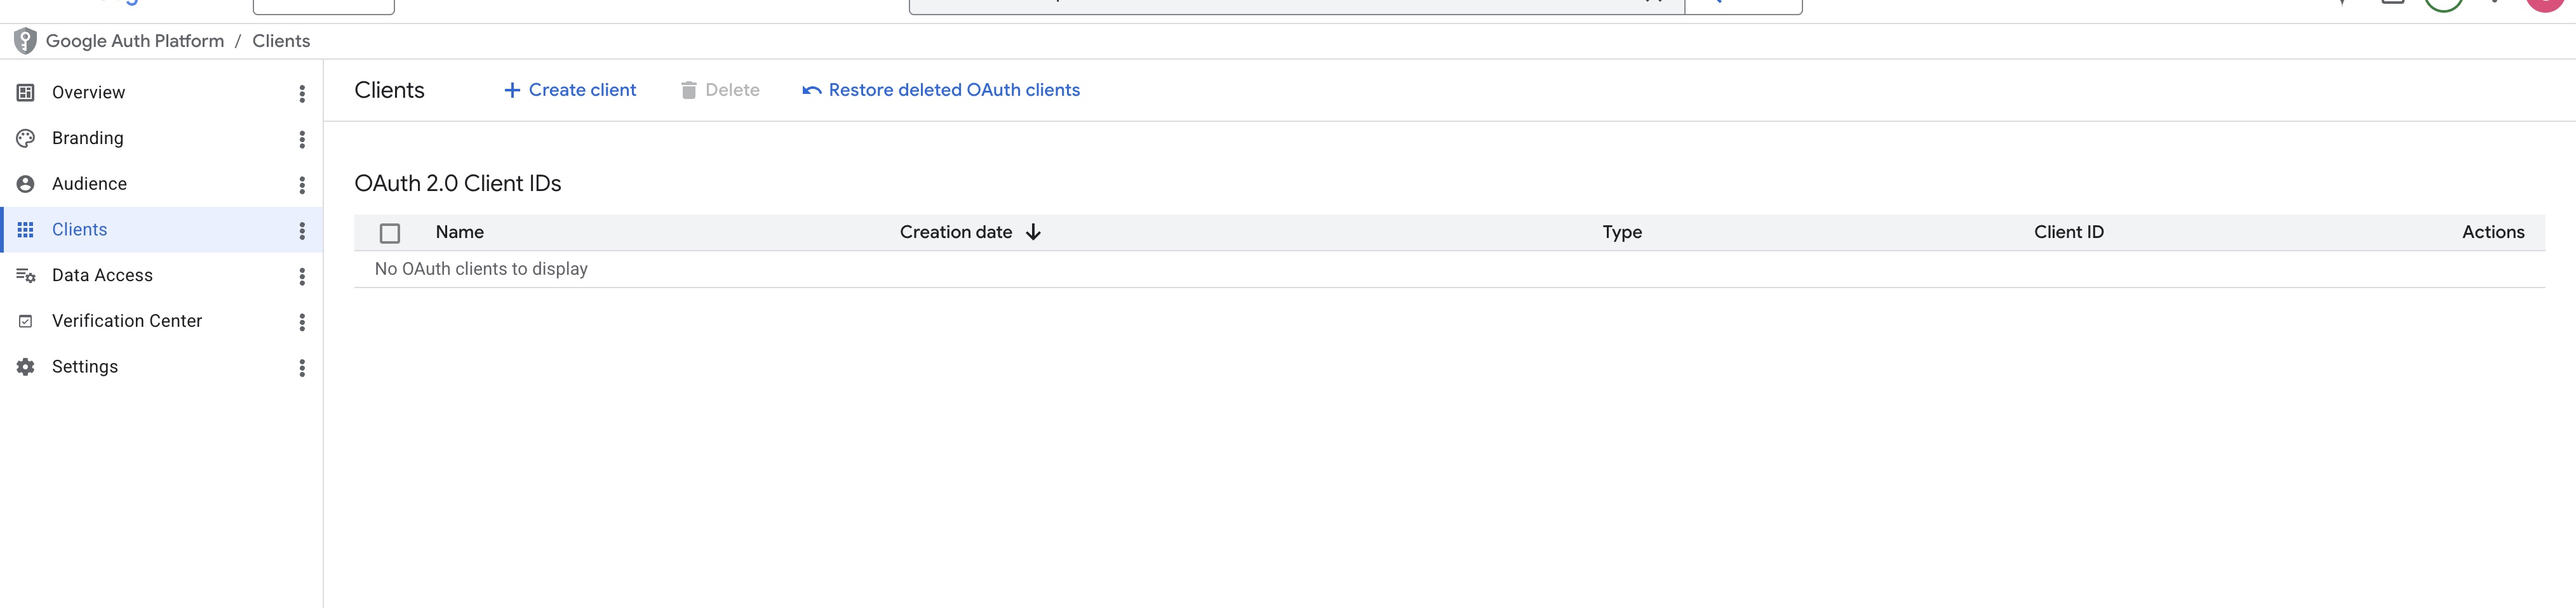
- In Google Auth Platform, open the Clients tab.
- Click + Create client at the top.
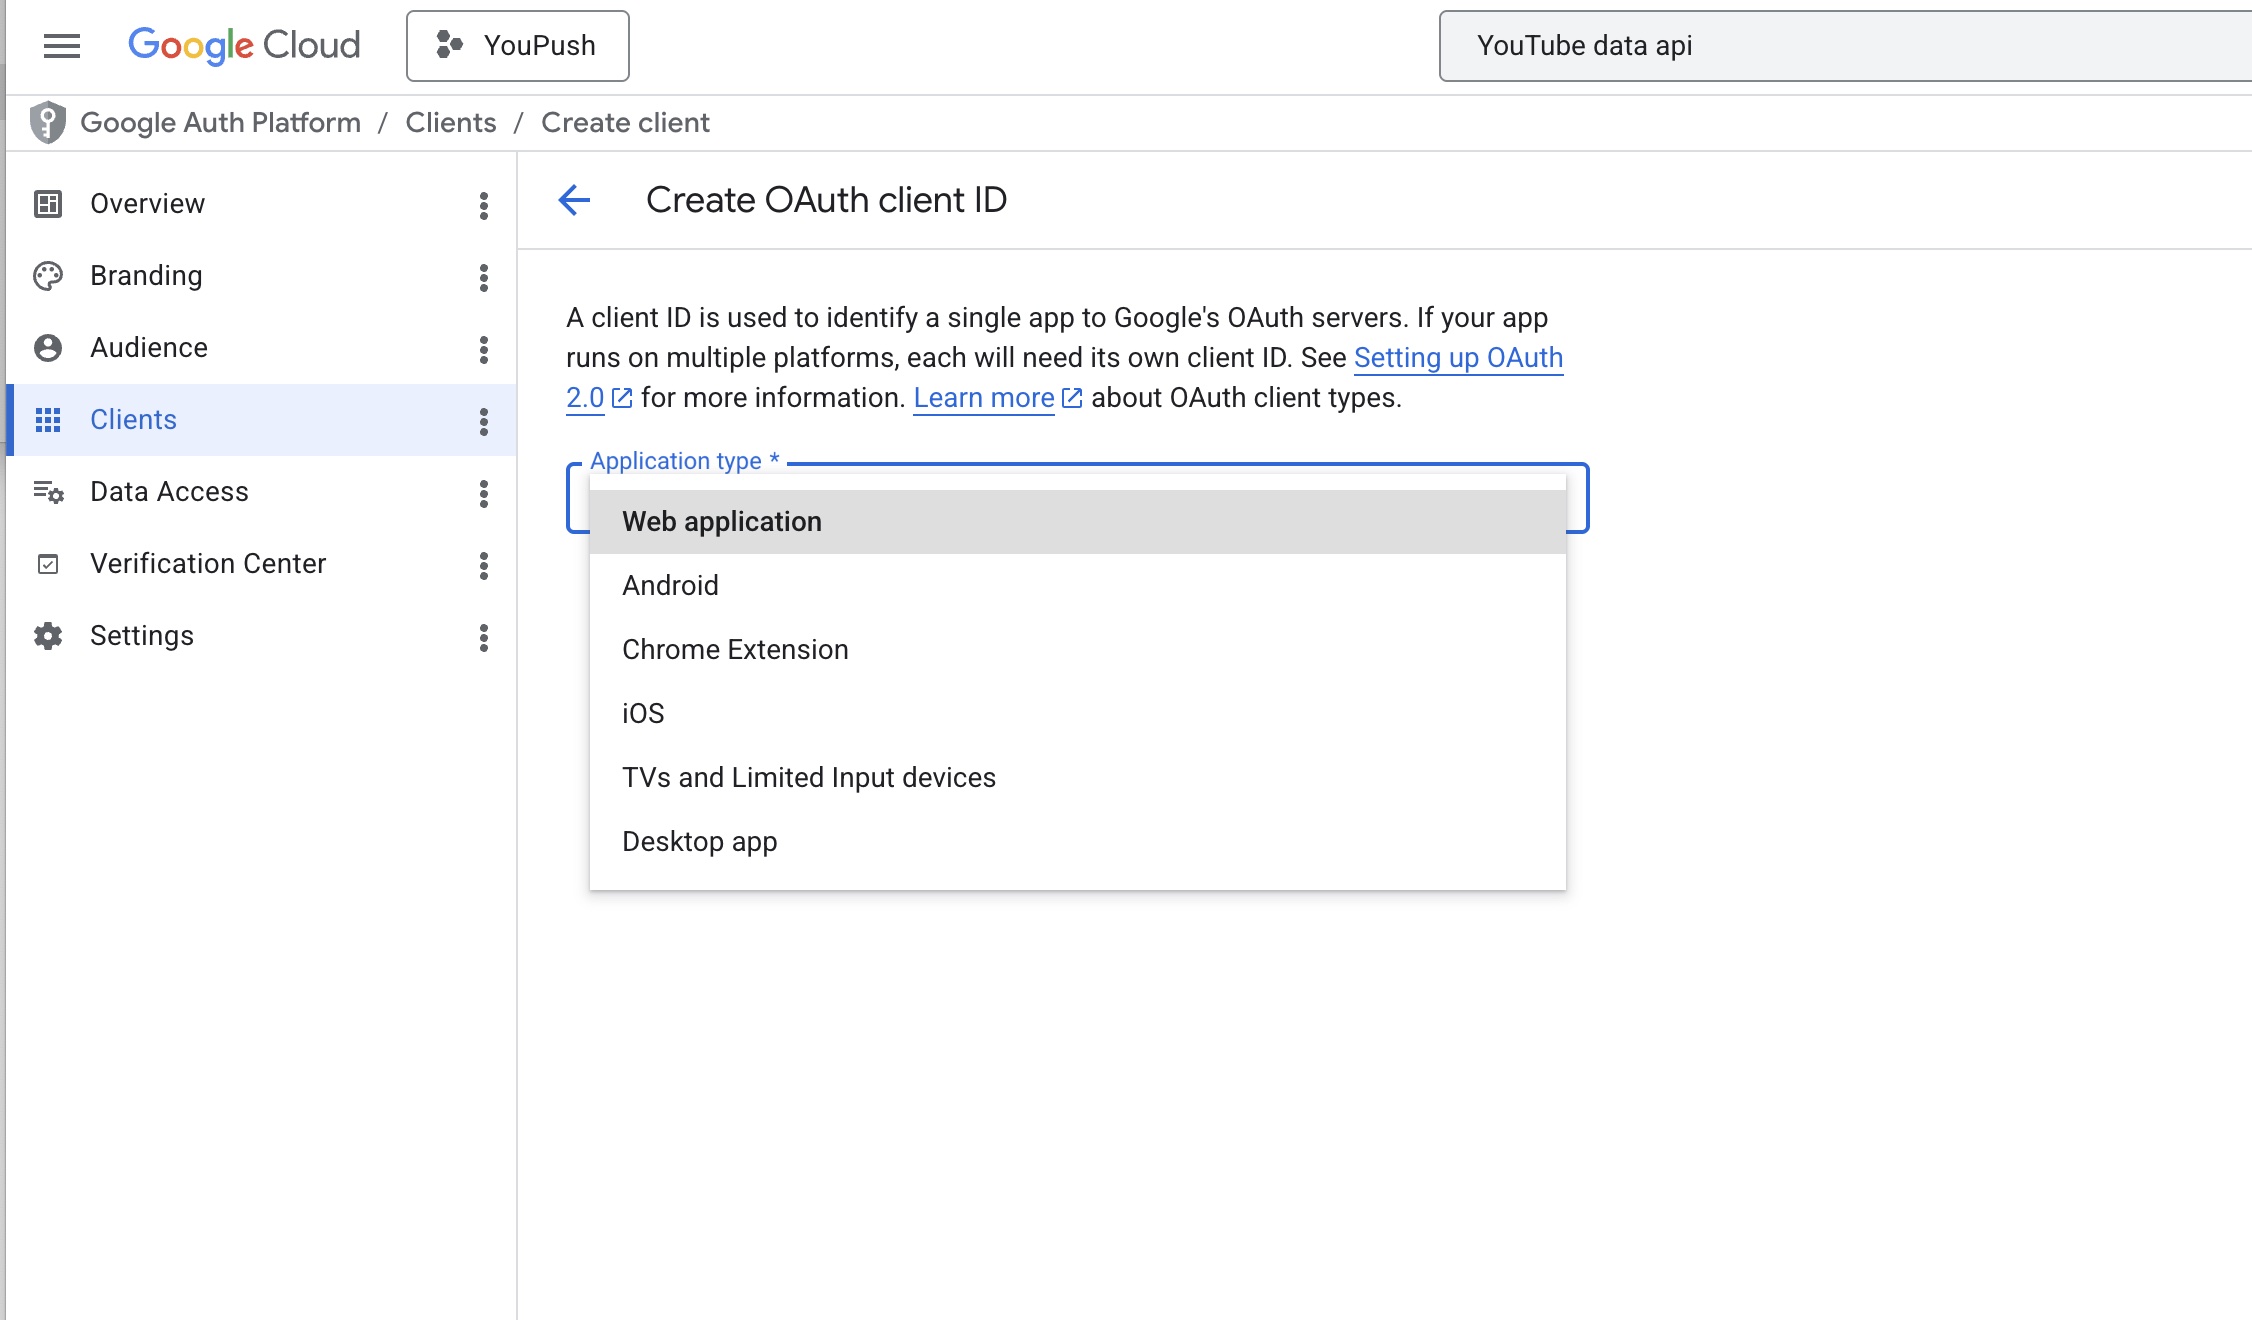
- From the Application type dropdown, scroll down and select Desktop app (it's the last option).
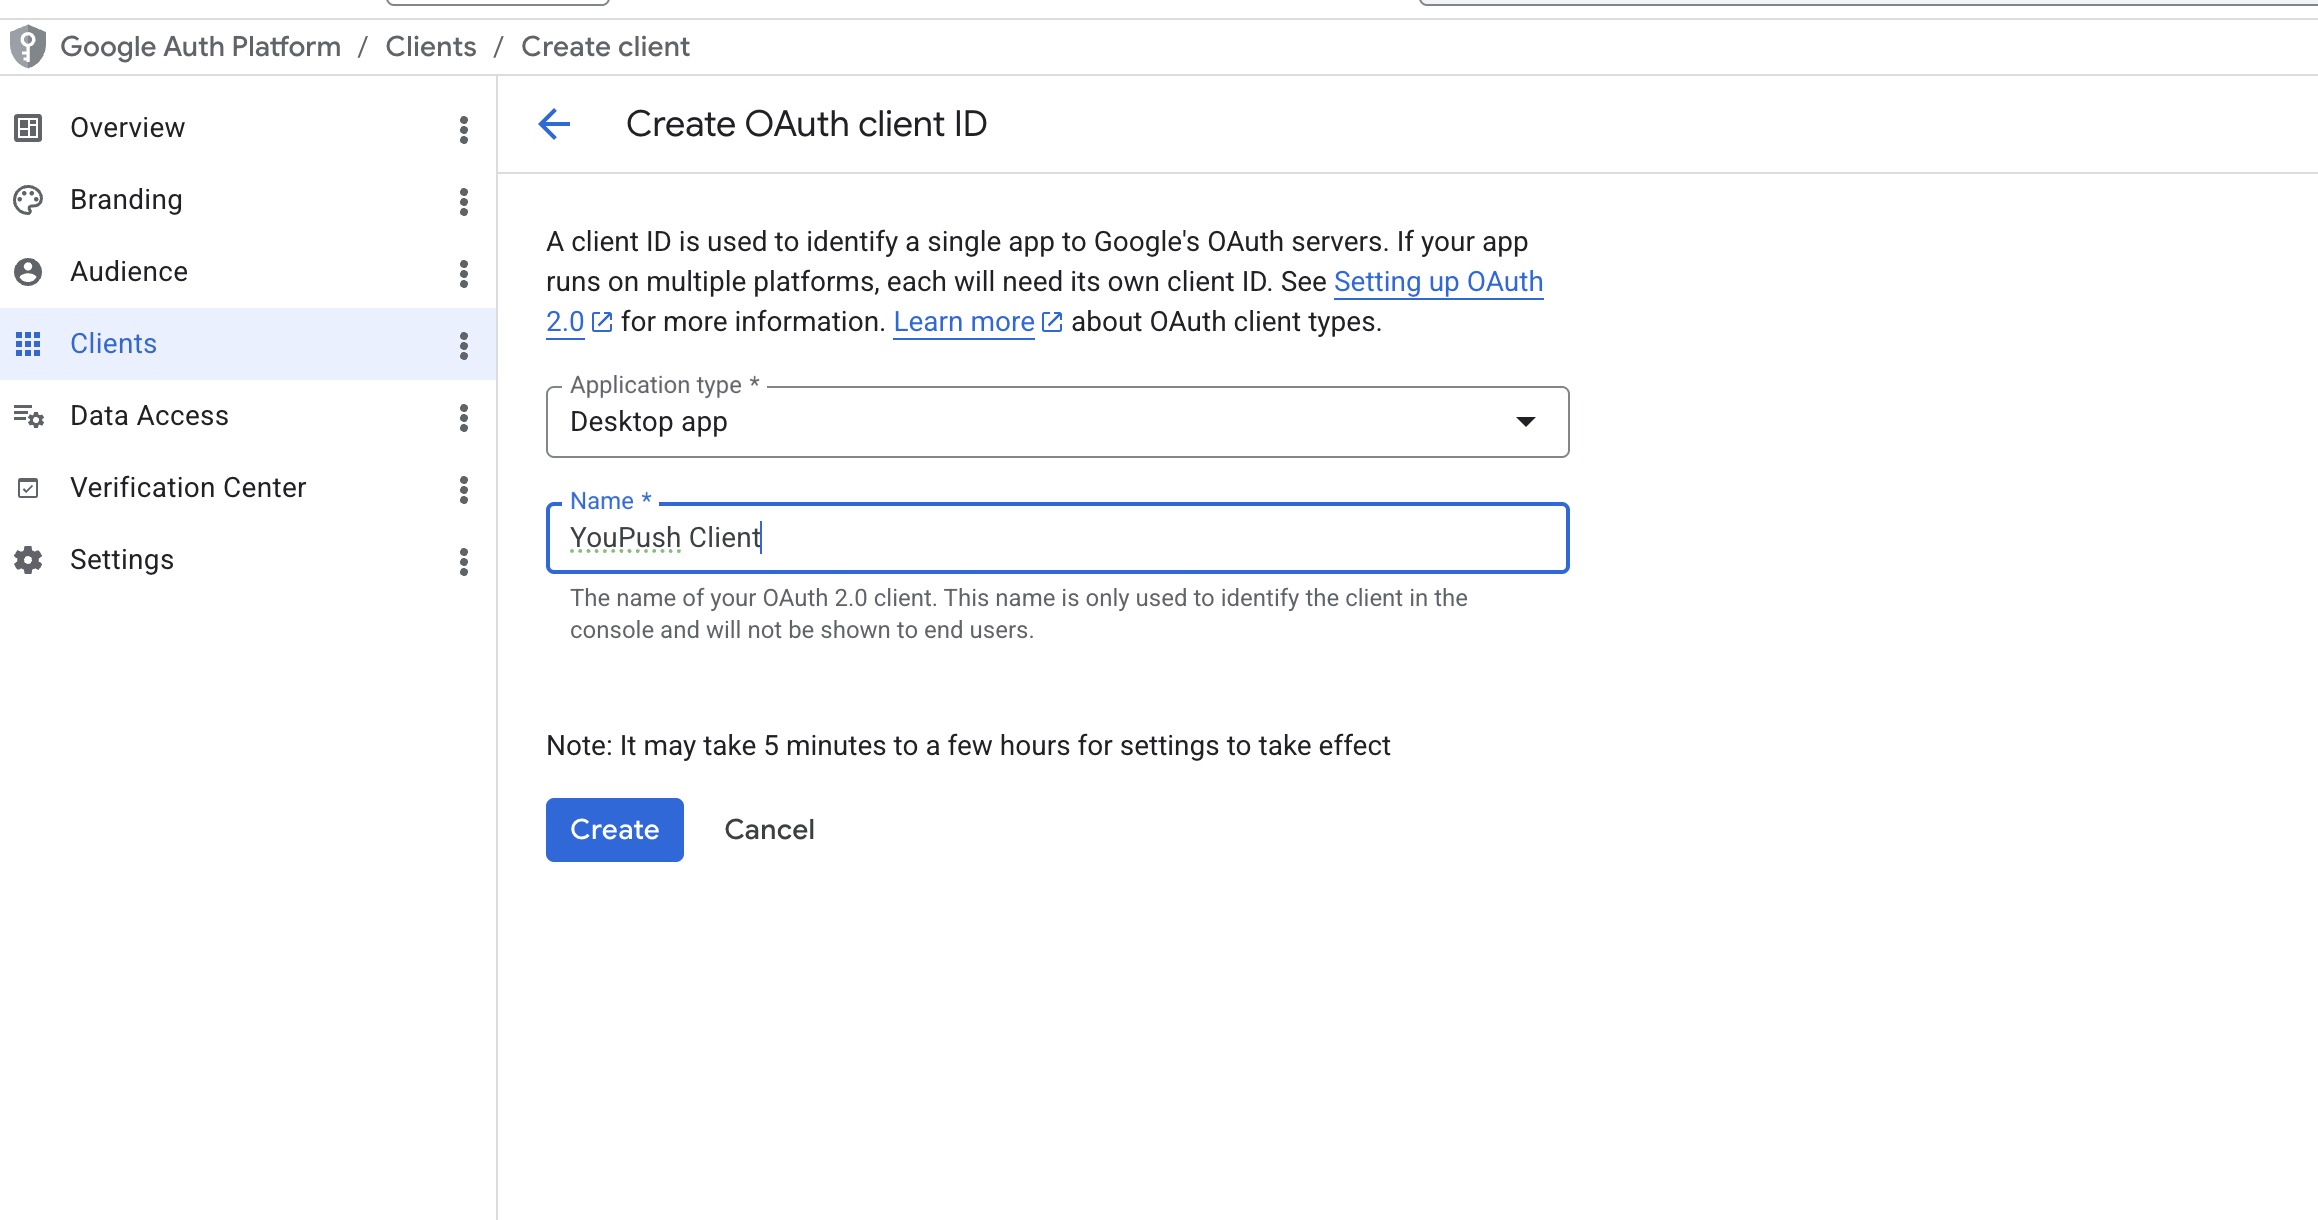
- For Name, enter
YouPush Client(or anything you like). - Click Create.
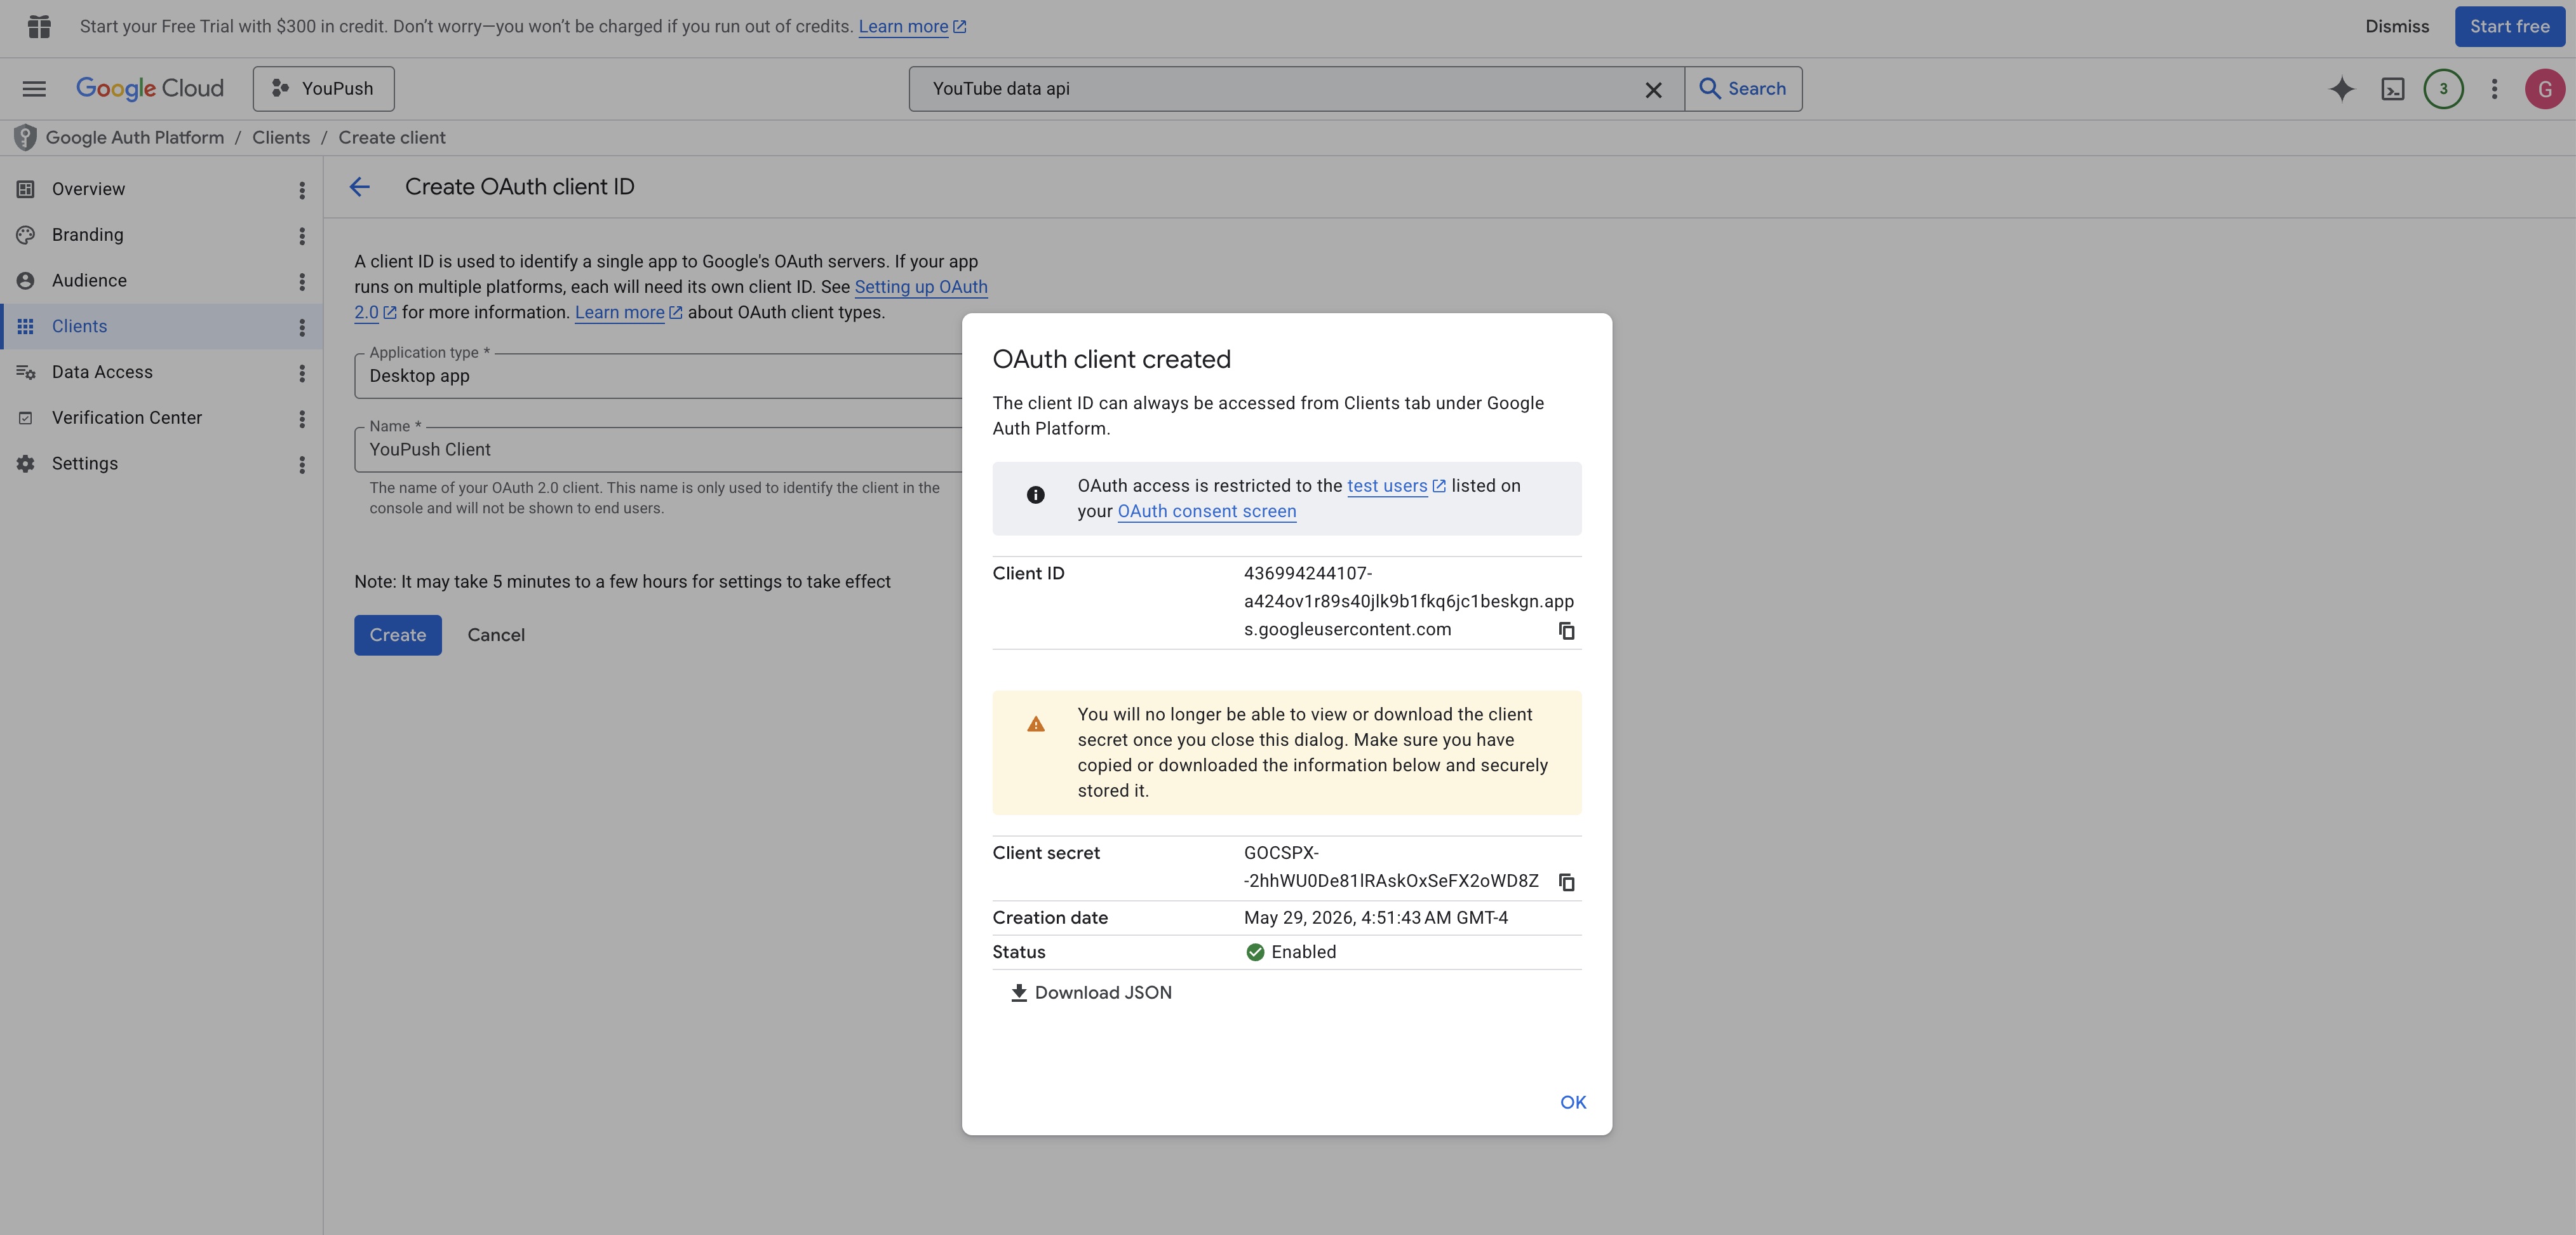
A popup will appear showing your Client ID and Client Secret. Use the copy buttons next to each value.
7 Paste into YouPush
- Open YouPush and go to Settings (gear icon in the sidebar).
- Scroll to the YouTube Account section.
- Paste your Client ID into the "Google Client ID" field.
- Paste your Client Secret into the "Google Client Secret" field.
- Click Save Credentials.
- Click Connect YouTube.
Your browser will open a Google sign-in page. Sign in with the same Google account your YouTube channel is on.
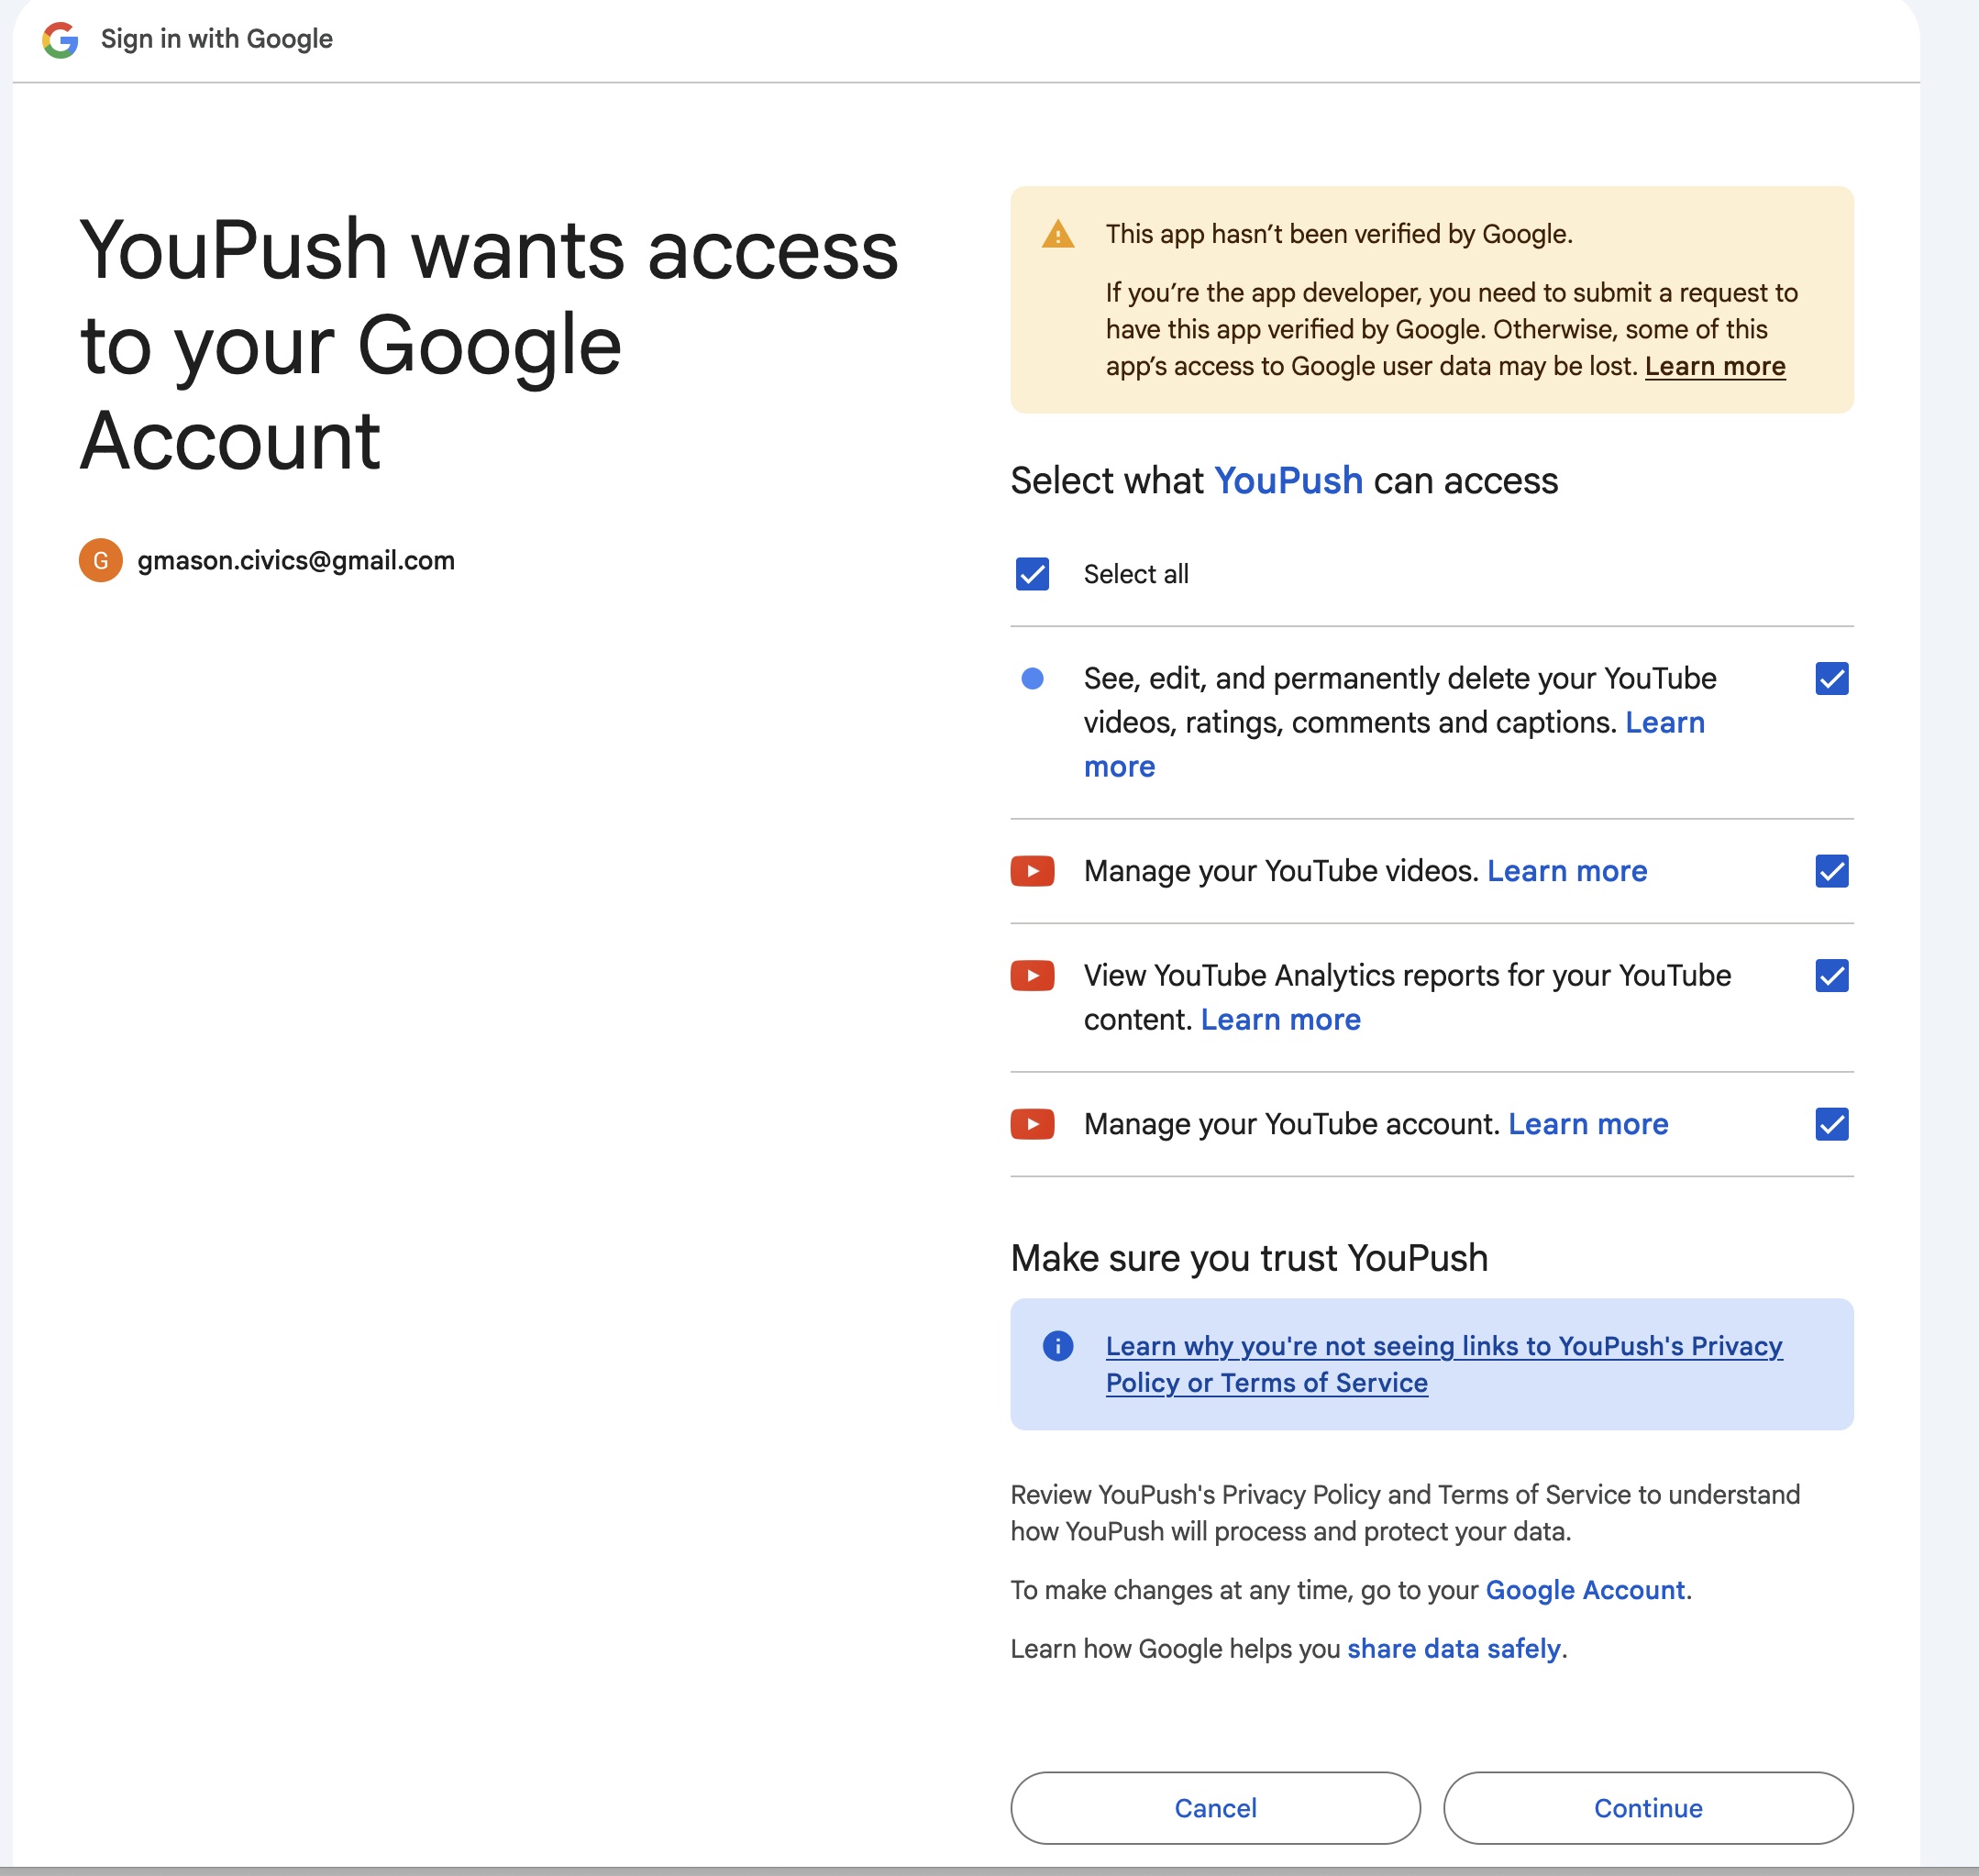
You'll see a warning that says "Google hasn't verified this app" — this is normal for personal-use apps. Click Advanced, then Go to YouPush (unsafe). Despite the scary wording, it's perfectly safe — it's your own app that only you use.
Next you'll see a "YouPush wants access to your Google Account" screen listing the YouTube permissions. Check Select all — make sure every box is ticked, because YouPush needs all of them to upload, schedule, and manage your videos — then click Continue.
After authorizing, YouPush will show "Connected" with your channel name. You're done!
Troubleshooting
My YouTube connection stops working after about a week
Your app is still in "Testing" mode. Go to Audience in the sidebar and click Publish app (Step 5) to move it to "In production," then reconnect in YouPush. Testing-mode connections expire after 7 days; published ones don't.
"Error 403: access_denied" or "Access blocked"
Make sure you selected External as the audience type in Step 4, that you clicked Publish app in Step 5, and that you're signing in with the same Google account your YouTube channel is on.
"This app is blocked" or redirect_uri_mismatch
Make sure you selected Desktop app (not "Web application") as the application type in Step 6. Desktop apps use http://localhost as the redirect URI, which YouPush handles automatically.
I lost my Client Secret
Google only shows the Client Secret once when you create it. If you lost it, go to Clients in the sidebar, delete the old client, and create a new one. Then update both values in YouPush Settings.
Need help?
Email [email protected]